Learn cinemaOS
Short screen recordings of the real app, and the Journal.
Featured tutorial
The Momentum Dial
Open the Momentum Dial on a timeline clip and use Split, Duplicate, Nudge and Ripple Delete without leaving the selection.
Open the full tutorialTutorials
-
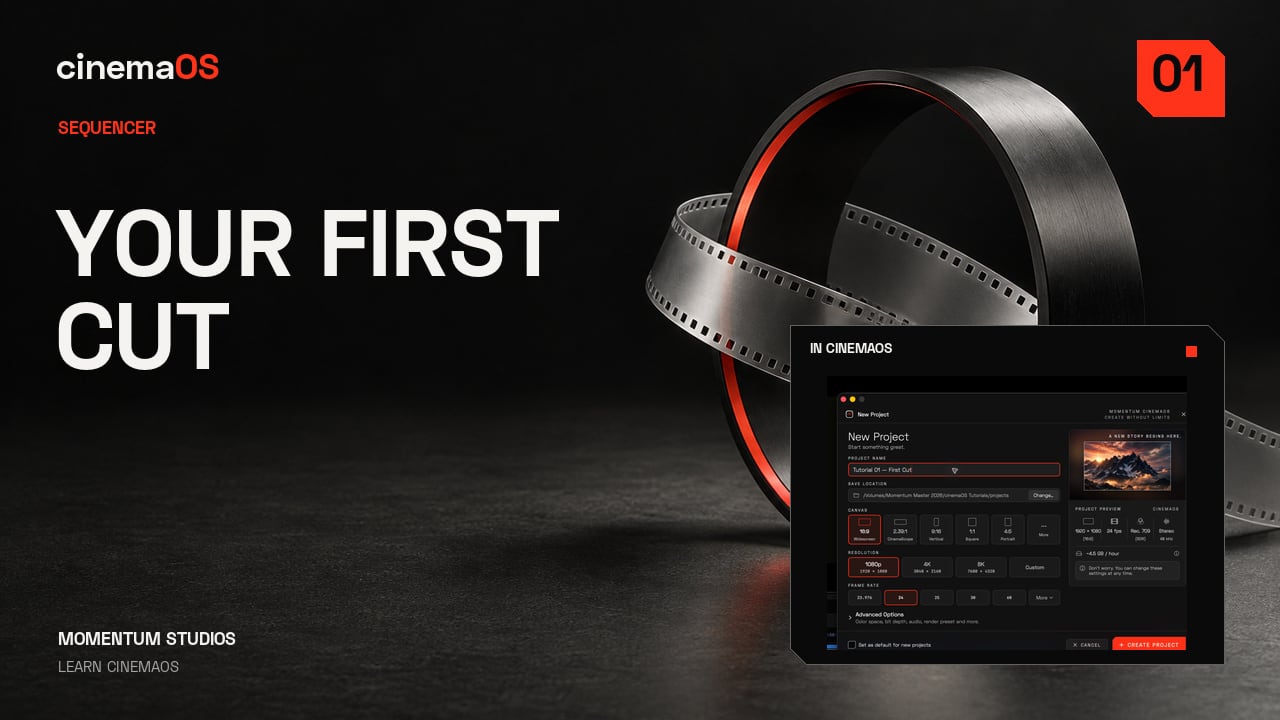
From Project Gate to first cut
Steps
- Create a new project. Choose New in the Project Gate and give the tutorial its own project. Keep the project format matched to the footage you plan to edit.
- Import the scene. Use Import Media, or press Command I, and select the scene. The clip appears in the bin, ready to use.
- Place the clip on the timeline. Drag the clip from the bin onto the Main Timeline. Picture and sound arrive together as linked V1 and A1 tracks. Move the playhead to the moment you want to review.
- Play and check the first shot. Play the sequence and look at the first shot in the programme viewer. One fresh project, and your first cut starts here.
-
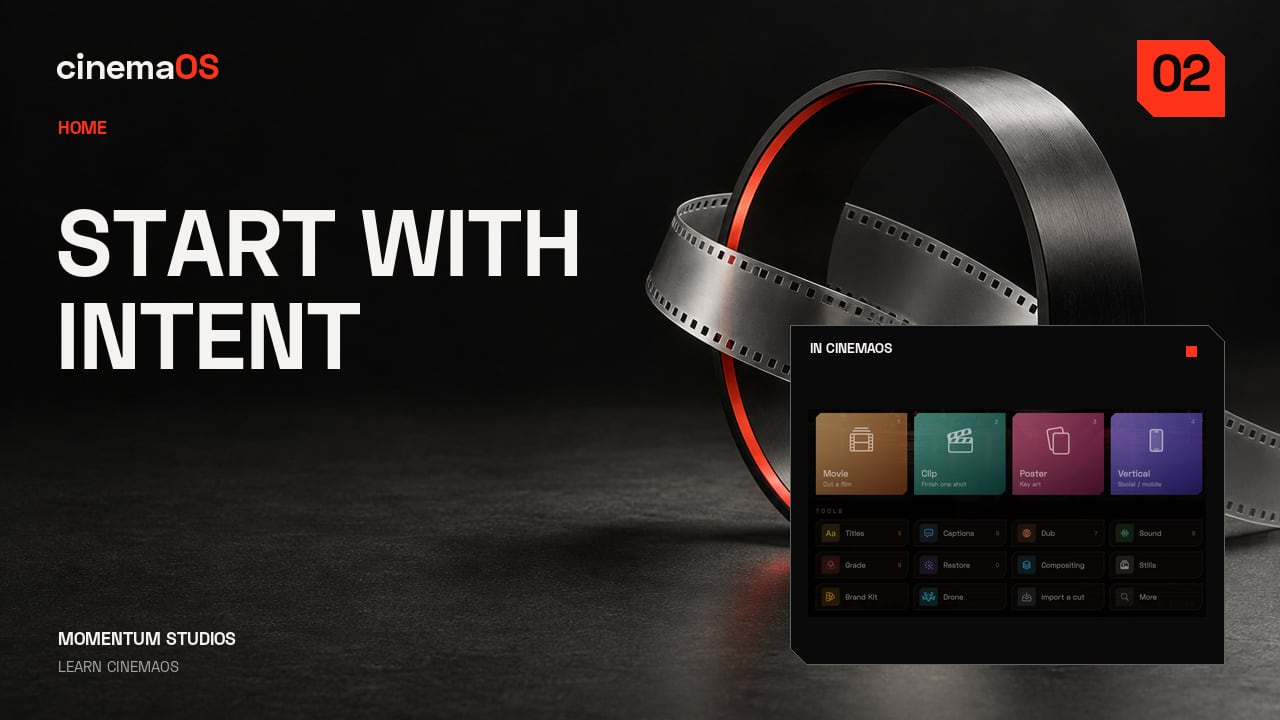
Tell it what you're making
Steps
- Open HOME. Press Shift Command H. Start with what you want to make rather than with a blank timeline.
- Choose a tile. HOME shows sixteen tiles, each a different starting point. For this scene, choose the tile described as Cut a film.
- Work in the task workspace. The editing workspace opens around that task. The scene you imported earlier is still part of the same project.
- Continue from the timeline. Review the clip and carry on editing. The starting choice gives you a useful place to work, not a locked template.
-
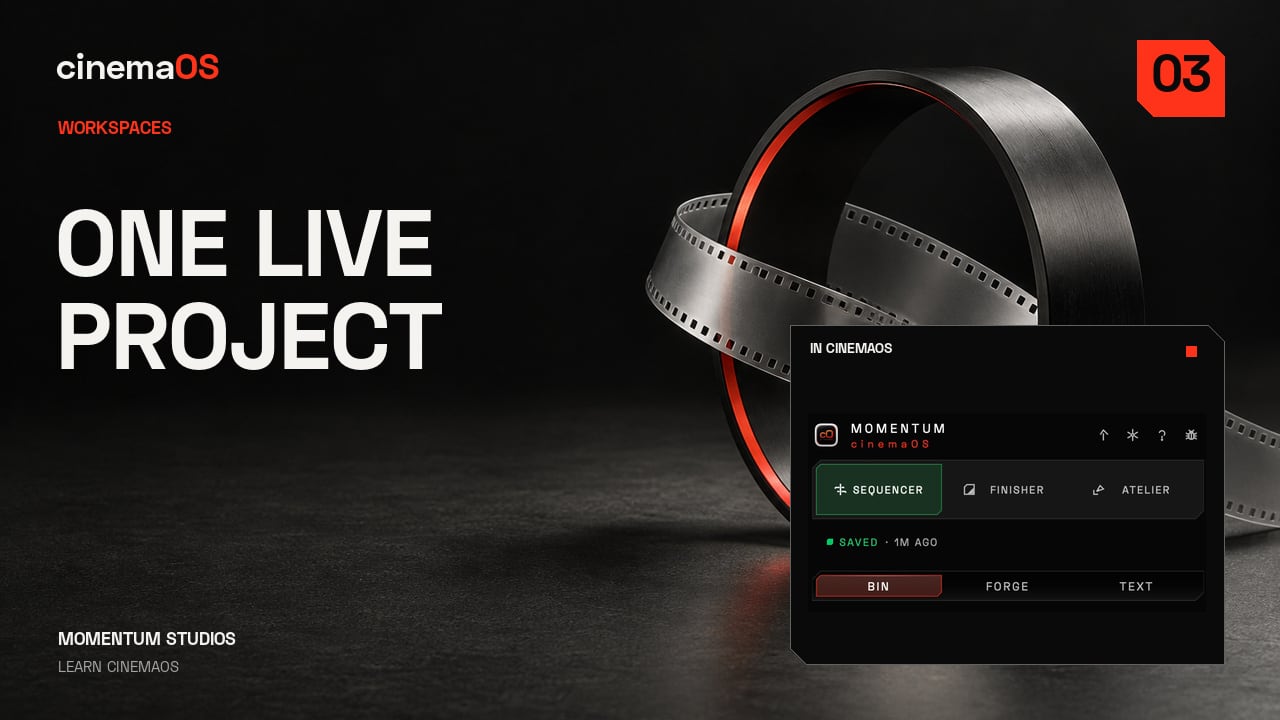
Three workspaces in 40 seconds
Steps
- Sequencer. Press Command 1 to open Sequencer. Start with the timeline and the cut you are working on.
- Finisher. Press Command 2 to open Finisher. The same project moves with you as you work on picture and sound.
- Atelier. Press Command 3 to open Atelier. Use the same project for image and design work, such as stills and posters.
- Back to the cut. Return to Sequencer with Command 1. Nothing is exported or re-imported between the three workspaces. You keep checking the same project as you move.
-
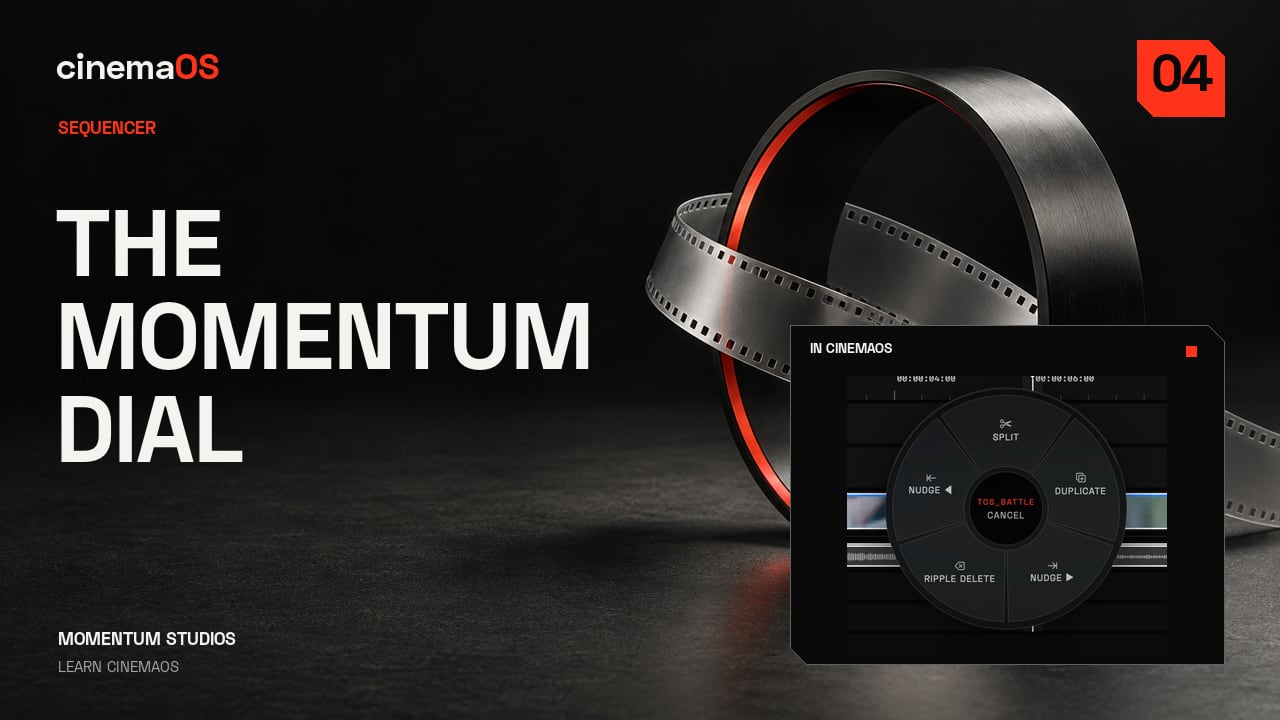
The Momentum Dial
Steps
- Open the Dial on a clip. Open the Momentum Dial on a timeline clip. Its editing actions stay next to the selection instead of in a menu bar.
- Split at the playhead. Choose Split. Open the Dial again to see the actions available for the new selection.
- Duplicate and Nudge. Try Duplicate, then Nudge the selected clip. A single frame can change the spacing, so watch the timeline while you do it.
- Ripple Delete. Ripple Delete removes the selected section and shifts the following clips back. Review the surrounding edit before moving on.
-
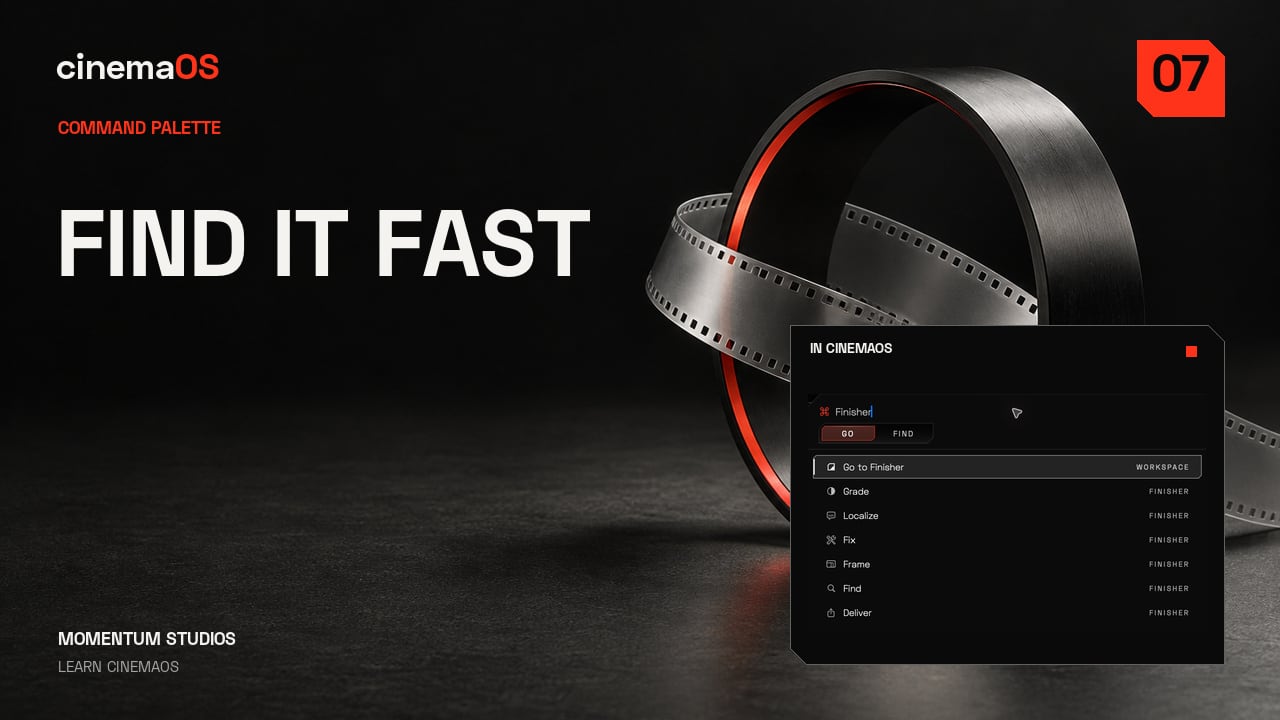
Find anything
Steps
- Open the command palette. Keep your hands on the keyboard and press Shift Command P.
- Type what you need. Type a few letters of the action you are looking for. The list narrows as you type.
- Choose the command. Check the matching results, choose the command and return straight to your project.
- Repeat whenever you need a tool. Open the palette again for the next action instead of searching through menus. Less searching, more editing.
-
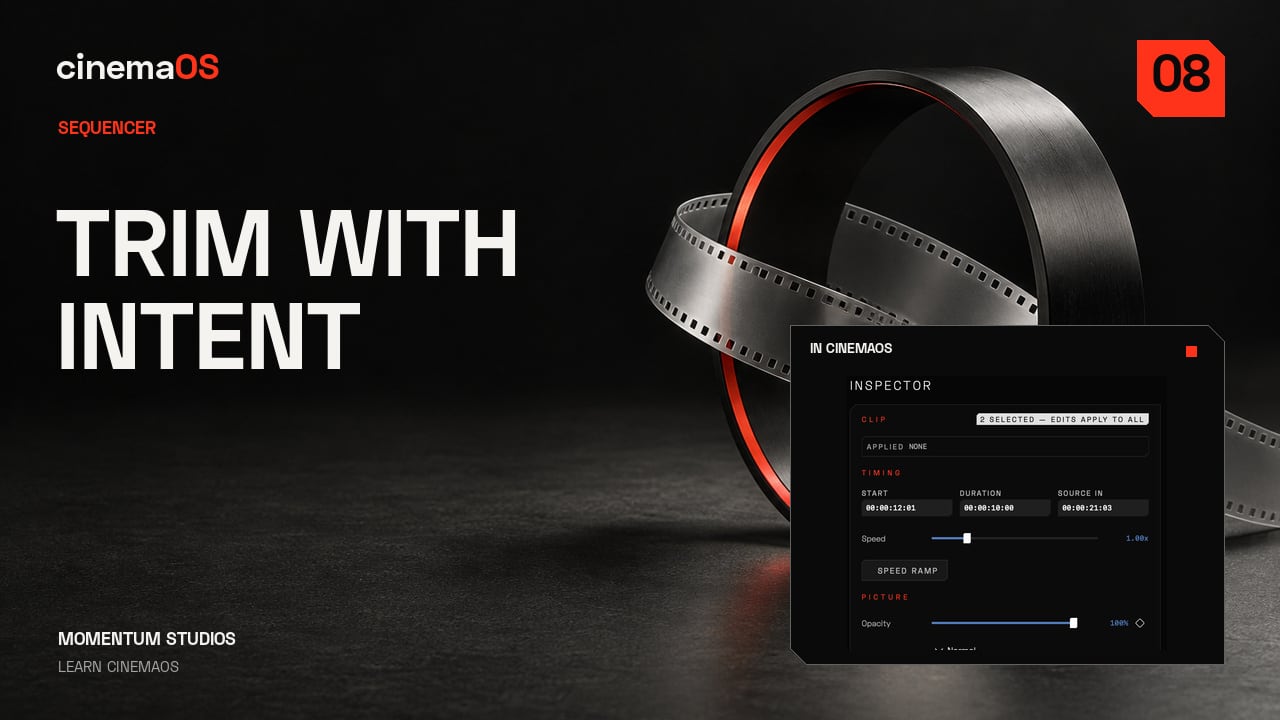
Trim like an editor
Steps
- Razor. Press C for the Razor and click the clip to cut it. Make a second cut to create a middle section.
- Ripple and roll. Press B for ripple trimming, then B again for rolling. Nudge the edit with the arrow keys and watch the cut change in the viewer.
- Slip. Option-drag to slip the source inside the clip. The clip's timeline position and duration stay the same; only the frames inside change.
- Slide. Option Command-drag to slide the clip between its neighbours. The adjacent edges move with it while the clip keeps its duration and source frames.
- Review in motion. Play both cuts. Keep the timing that serves the scene.
-
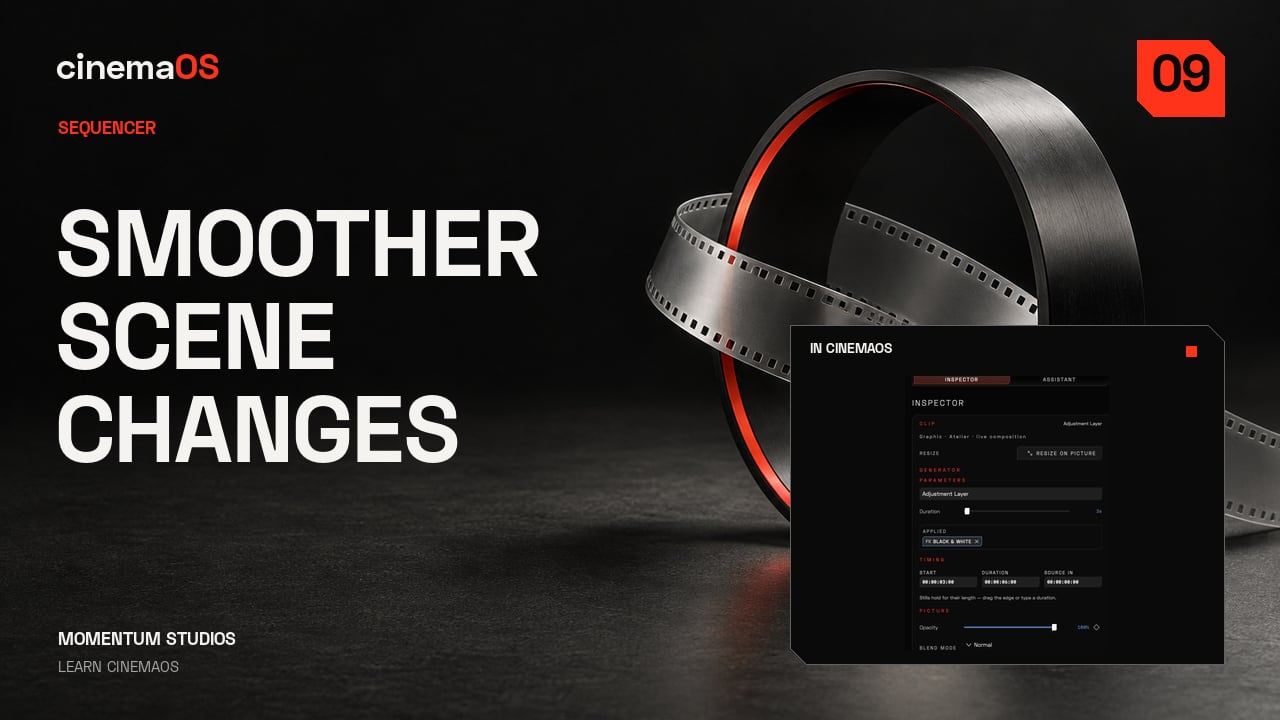
Transitions and adjustment layers
Steps
- Add the default transition. Select the edit point and press Command T. Play across the boundary to judge its timing.
- Keep it only where it helps. Keep the transition only where it supports the shot change. Review it in motion rather than on a still frame.
- Add an adjustment layer. Press Option Shift A to add an adjustment layer over the shots you want to treat together.
- Set the range and the treatment. Adjust the layer's range and apply the shared treatment, a monochrome look in the recording. Play the section to check where it begins and ends.
-
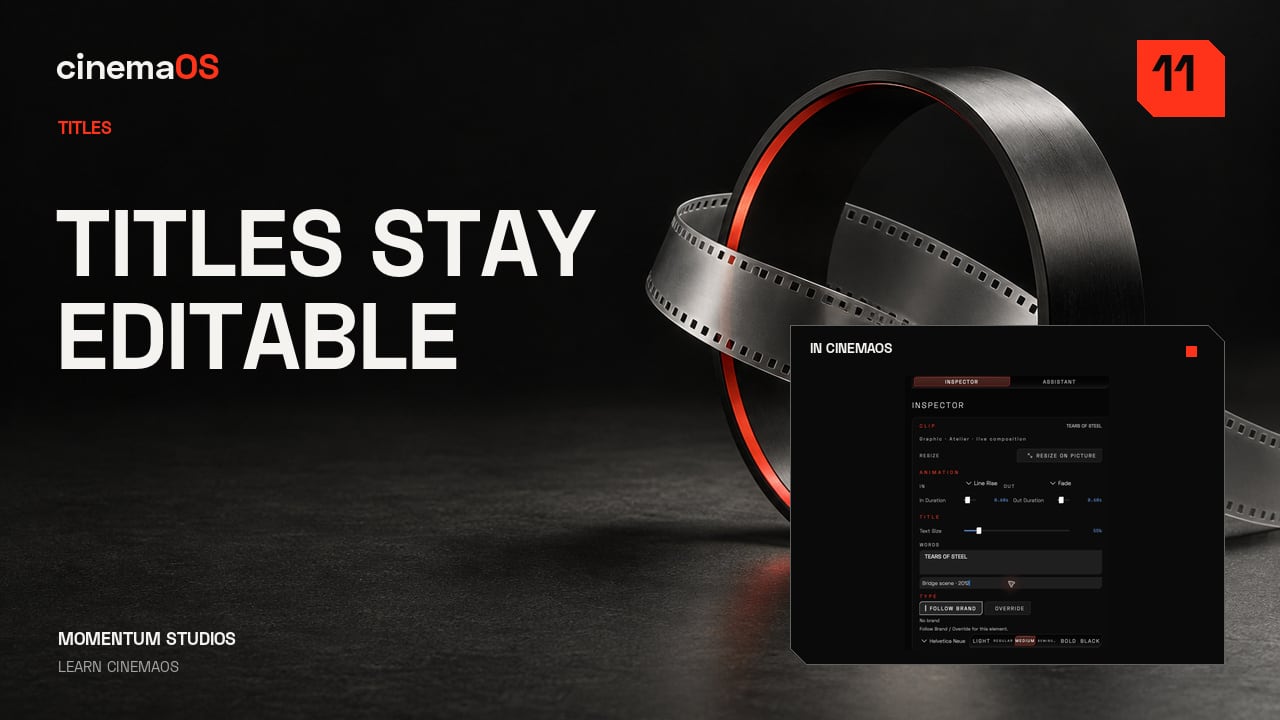
Live titles that stay editable
Steps
- Add a lower third. Open CREATE, choose Titles, then Lower Thirds, and add a lower third to the sequence. The recording uses the Clean Name design.
- Edit the words and the typeface. Change the text and choose the typeface (Space Grotesk in the recording). Keep the title low in the picture, with space around the people in the shot.
- Keep it live. A new CREATE title is already live. Make Live is for compatible titles rendered by earlier versions of cinemaOS; you do not need it for titles you create now.
- Change it again and review. Change the text once more and play it in the sequence. Check the duration and the way it sits over the picture.
-
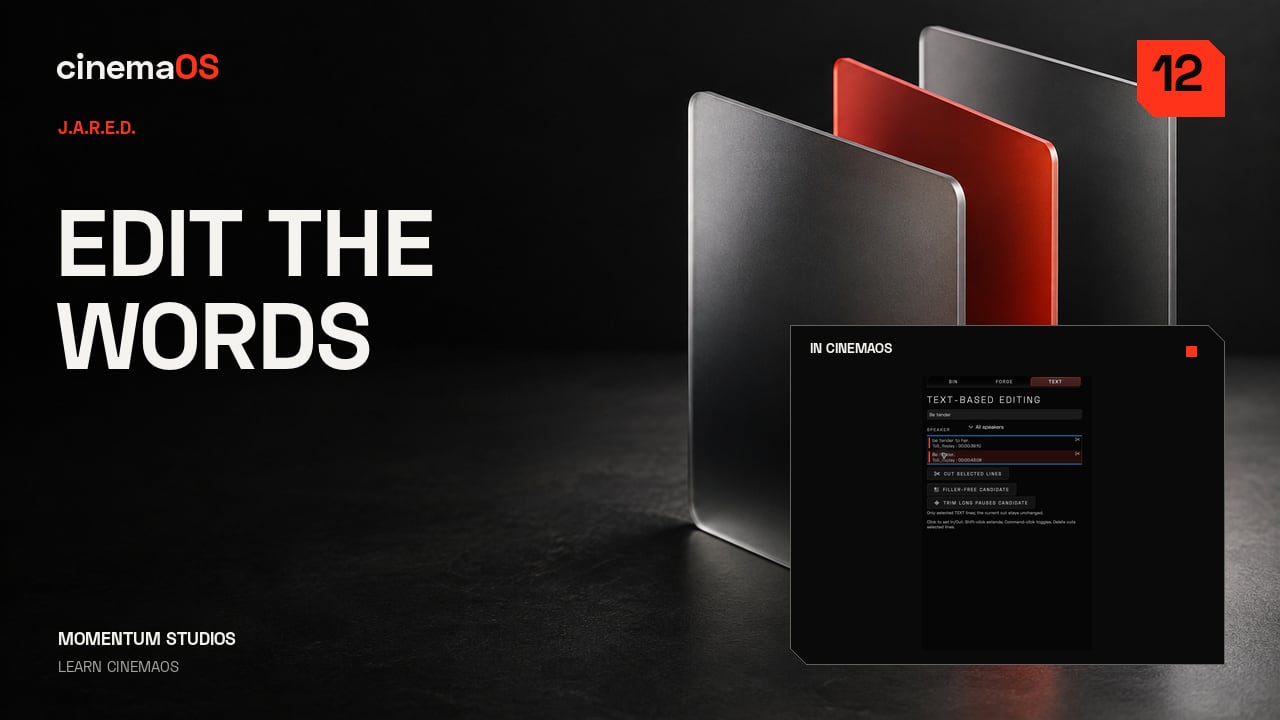
Transcribe and edit by text
Steps
- Transcribe the scene. Press Shift Command T to Transcribe with J.A.R.E.D. Start with clear dialogue in the selected scene. Transcription runs locally.
- Open Text Editing. When transcription is complete, open the Text Editing tab in the bin. Read the words alongside the footage.
- Select the passage. Select the lines you want to work on. Check that the highlighted text corresponds to the intended section of the scene.
- Make the edit and inspect the timeline. Removing the selected lines cuts the linked V1 and A1 clips. Play the joins and listen for clipped words or awkward pauses.
- Treat the transcript as an aid. Review the words and the cut before moving on. The transcript finds the line; your ear decides the edit.
-
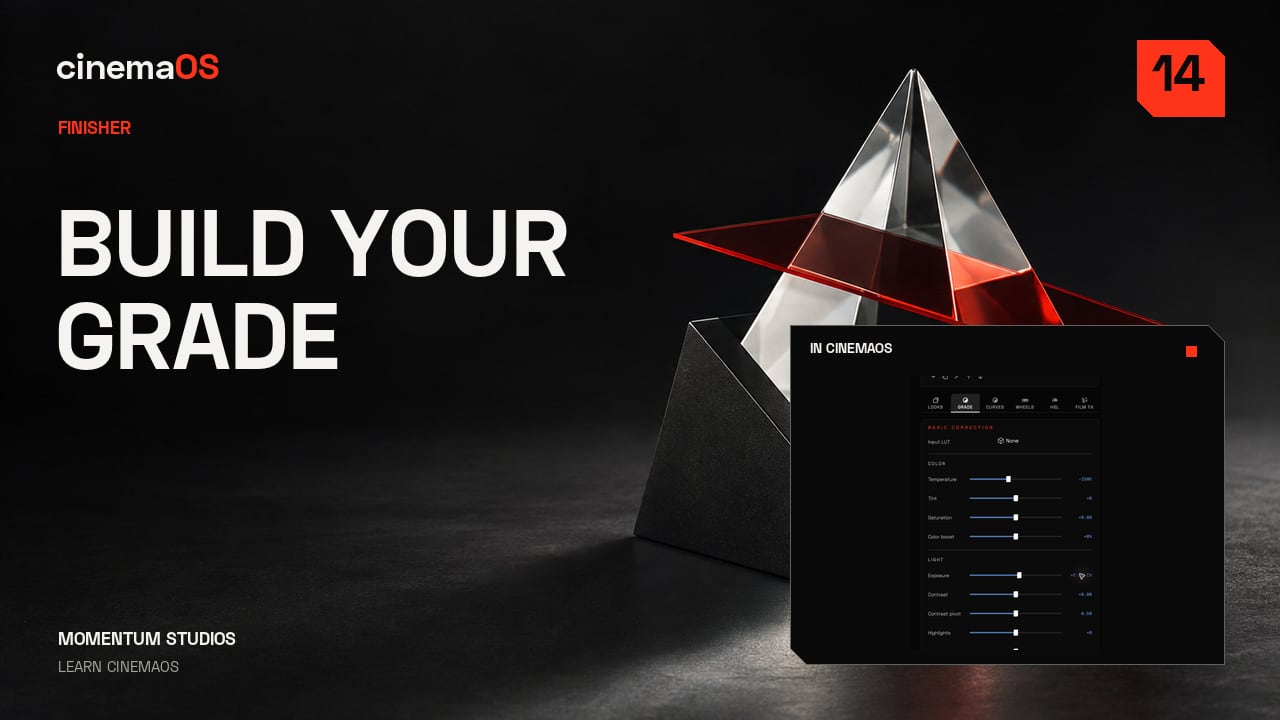
A grade in one minute
Steps
- Open the grade tools. Open Finisher, then Grade and Color. Start by checking the source and the picture you want to end up with.
- Set the Input LUT only when it matches the source. Use Input LUT when the footage needs a camera transform. The demo footage is already a finished display image, so no camera transform is assigned.
- Shape the look with COLOR and LIGHT. Make small changes and compare them against the starting image.
- Refine with the Dial trackball. Use the Dial trackball for a controlled colour adjustment. Watch the picture and the scopes together as you refine it.
- Review in motion. Play the shot. Keep the grade deliberate rather than heavy.
-
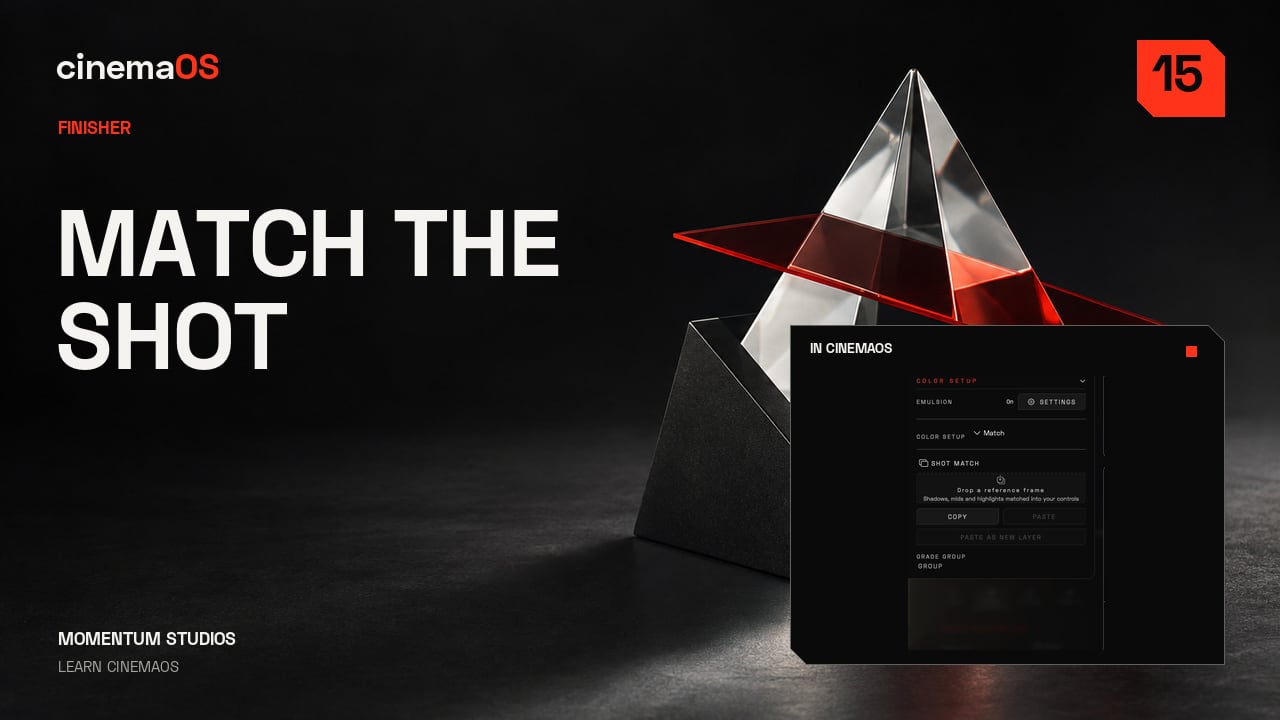
Shot Match from a still
Steps
- Choose a reference. Pick a still that represents the look you want. Check that it is a useful reference for this particular shot.
- Open Match. Open COLOR SETUP and choose Match. Select the still as the reference on the color rail.
- Apply and compare. Apply the match and compare it with the original picture. Check skin, contrast and the brightest parts of the frame.
- Refine. Adjust the result for this shot. A reference is a direction; the final judgement stays with you.
- Review the sequence. Bring the shots closer, then play the sequence to confirm they cut together.
-
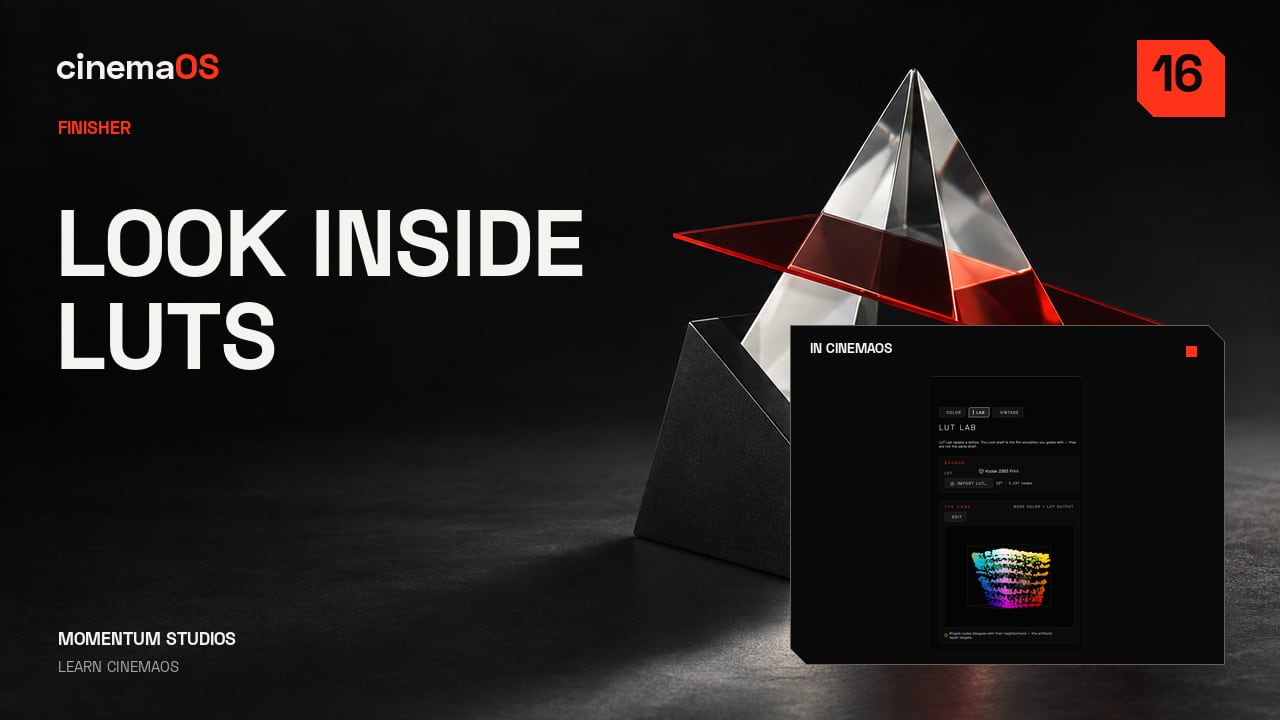
See your LUT in 3D
Steps
- Load the look. Open Grade, then Lab, and load the look you want to inspect.
- Orbit the cube. Orbit the three-dimensional view to examine the colour mapping from different angles. Look for abrupt changes or irregular structure.
- Repair artifacts. Use Repair artifacts on the selected look. Compare the repaired version against the starting point and against the picture itself.
- Export a .cube file. Export the result as a .cube file when it is ready. Keep the original and the repaired version clearly named.
- Judge it on the image. Inspect the transform, then decide on the footage.
-
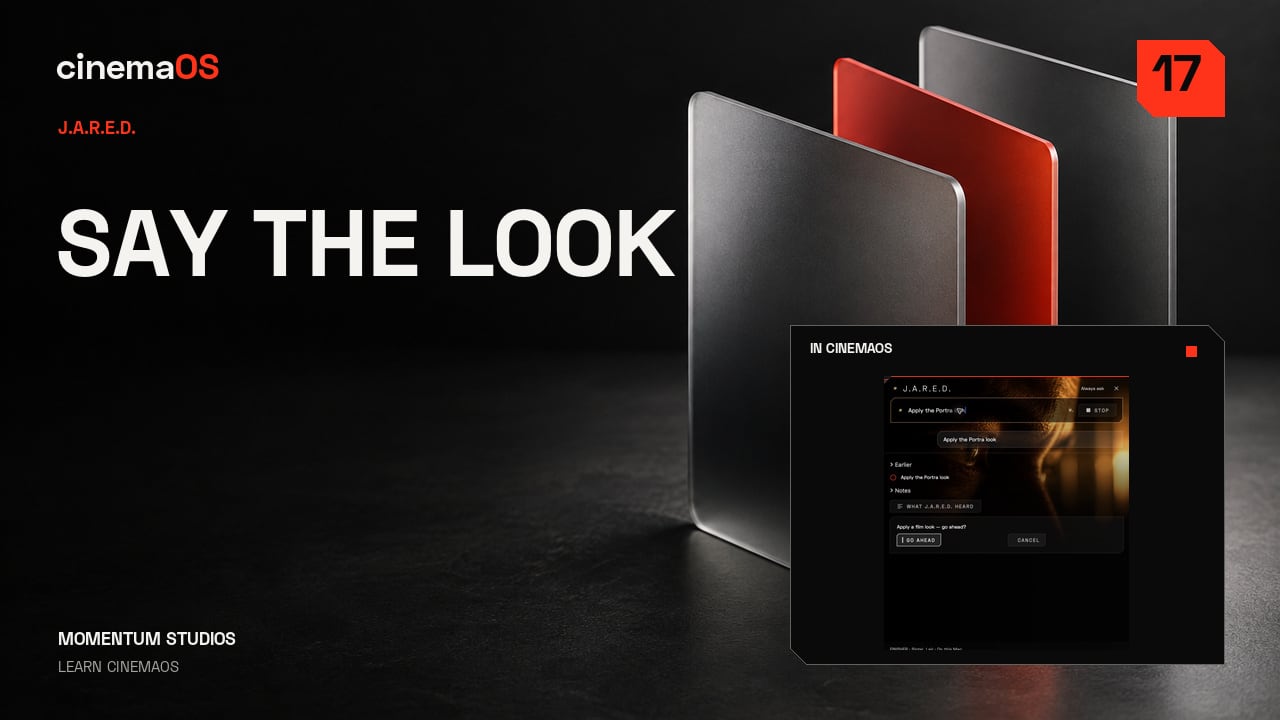
One sentence, one look
Steps
- Open J.A.R.E.D. Press Command J and type your request in English.
- Ask for a look. For this shot, ask: Make it anamorphic. Review the proposed treatment before applying it.
- Approve and try another. Approve with Go Ahead. You can also ask: Apply the Portra look. Treat each response as a starting point for your own judgement.
- Compare with the original. Keep the elements that suit the scene and adjust anything that feels too strong. Describe the direction, then make it yours.
-
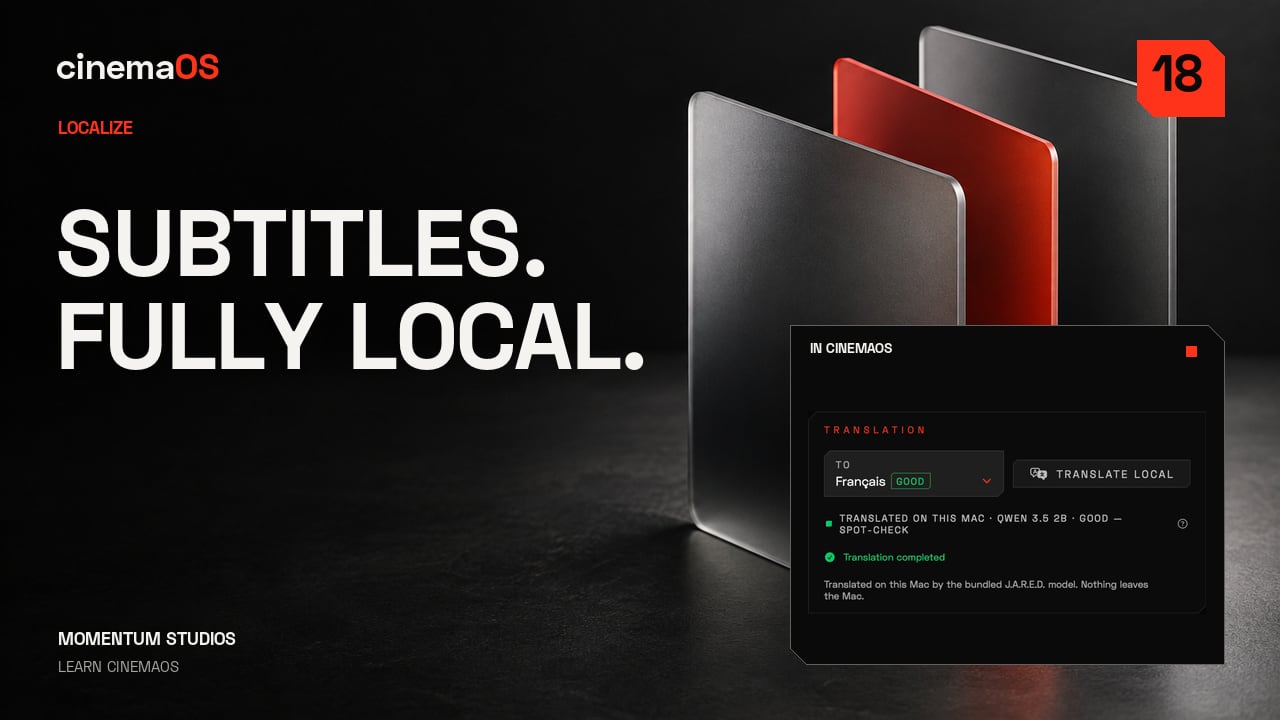
French subtitles with Wi-Fi off
Steps
- Open Localize, then Captions. Start with the source captions. In the recording Wi-Fi is switched off before the French translation step.
- Generate source captions. Choose Auto Detect to find the spoken language and generate the source captions.
- Review before translating. Read the words and the timing. Fix anything that is wrong now, because the translation follows the source.
- Translate locally. Select French, then use Translate Local to run the translation on this Mac.
- Compare both languages. Turn on Bilingual to see the English and French lines together.
- Export. Export an SRT for a separate subtitle file, or choose Burn In to render the subtitles into the picture. One scene, two languages, ready for your final review.
-
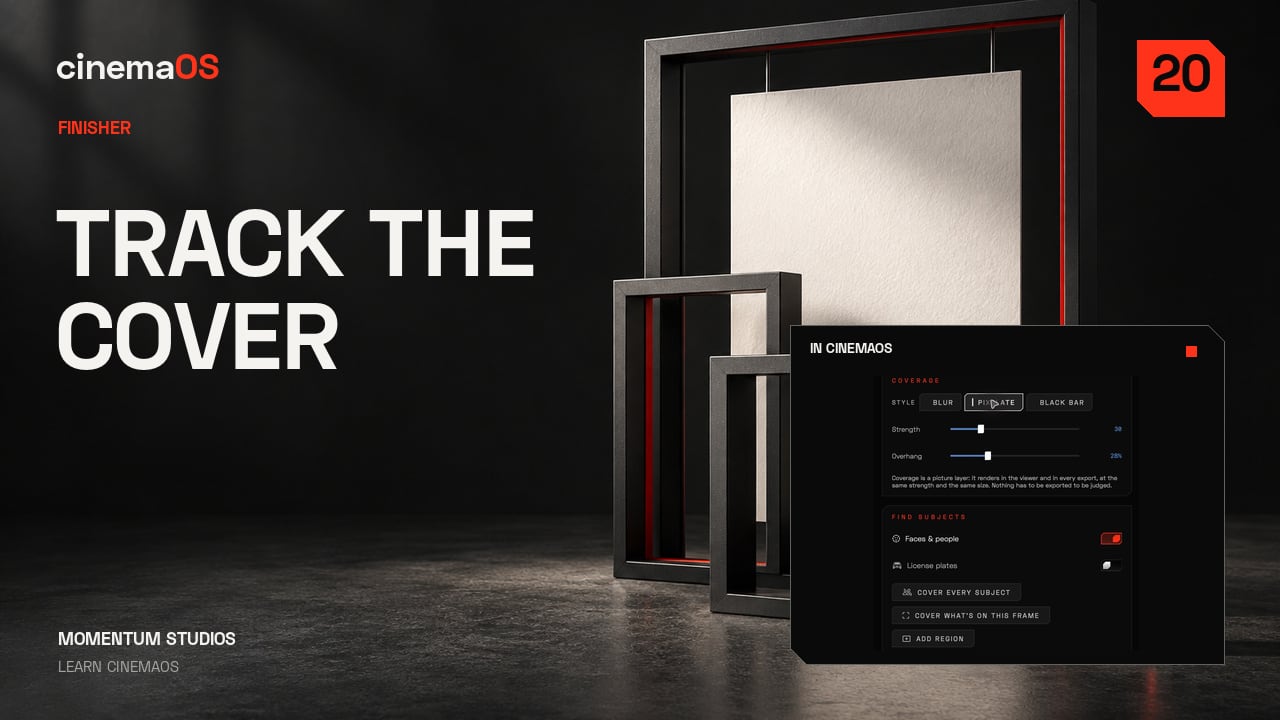
Cover faces, tracked
Steps
- Open Cover. Open Fix, then Cover, on the selected clip. Choose blur, bar or pixelate for the treatment you need.
- Position and size the cover. Place the cover over the face and size it so movement stays contained. The recording uses a 28 percent overhang.
- Track both ways. Track forwards and backwards from the reference frame. Review the tracked region through the whole shot.
- Check the difficult moments. Look at turns, occlusions and the first and last frames. Adjust any point where the cover drifts or exposes the face.
-
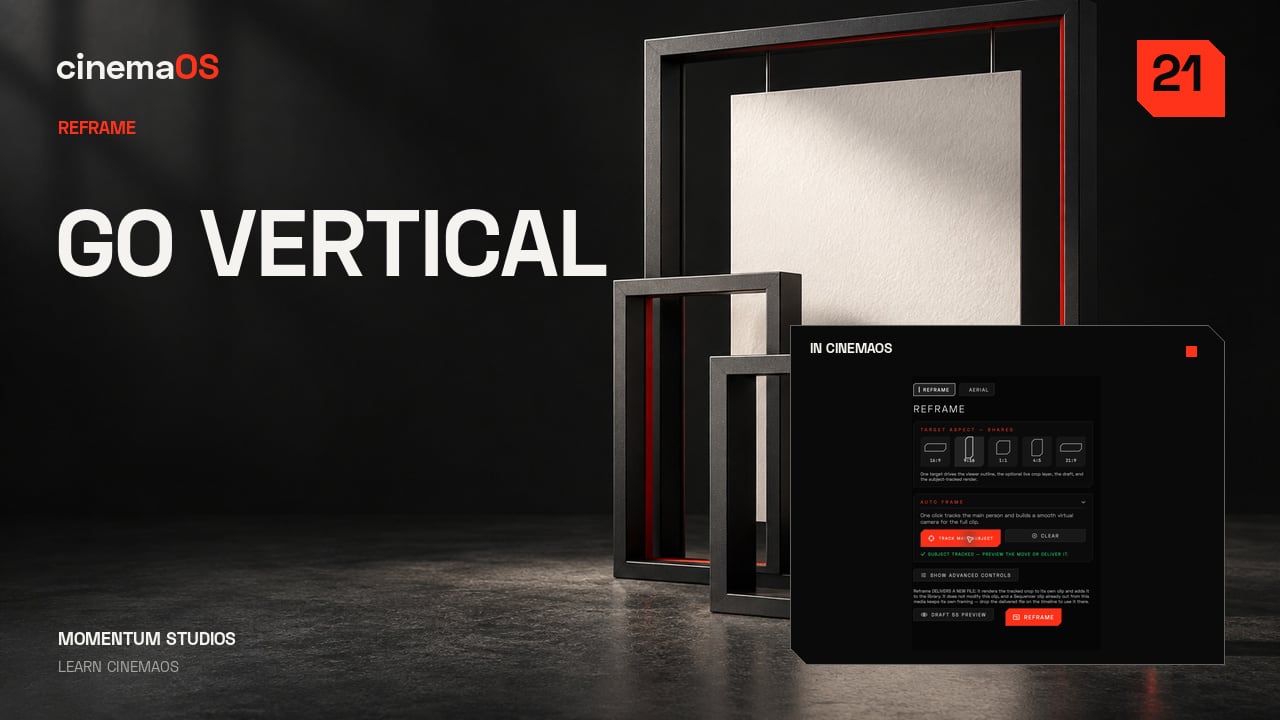
16:9 to 9:16
Steps
- Open Reframe. Open Frame, then Reframe, and choose the vertical composition. The original 16:9 picture stays untouched; the vertical version is a camera move over it.
- Let Track Main Subject propose a move. Track Main Subject follows the subject through the shot and proposes a camera path. Treat it as a proposal, not a result.
- Review the movement. Play through the shot. Check headroom and the moments when the subject changes direction, because that is where a tracker drifts.
- Refine the framing. Set a camera key where the framing needs help. A vertical version should still feel composed, not cropped. Change the frame and keep the story clear.
-
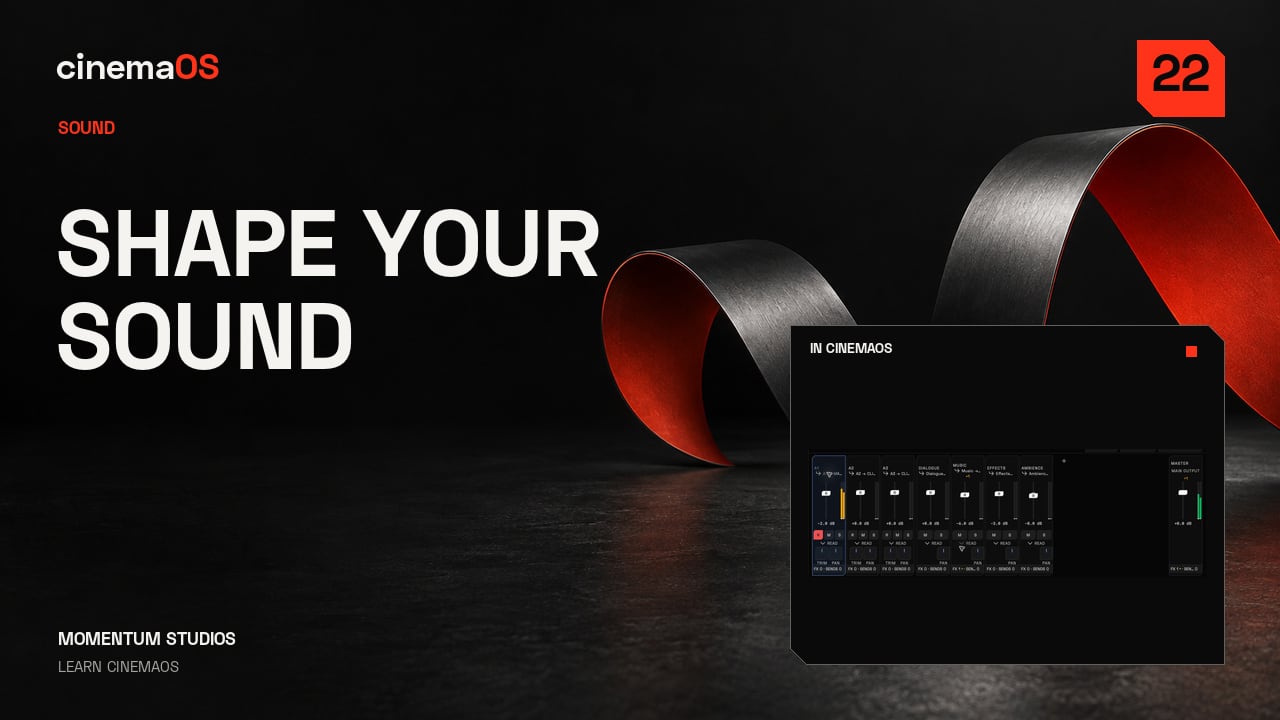
The SOUND console
Steps
- Open SOUND. Press Command Option S. Start by identifying the channels that carry this scene.
- Read the buses and meters. Inspect the bus menu and watch the loudness meters as the sequence plays. Keep the dialogue easy to understand.
- Adjust in context. Change the mix while listening to the combined result rather than judging one meter alone. In the recording the A1 fader moves from minus 2 to minus 1 dB.
- Prepare a voice take. Open Record Voice with Shift Command R. Check the input and the destination track (a new Voice 1 track in the recording) before you record.
- Listen again. Play the mix at a consistent level. Clarity comes first.
-
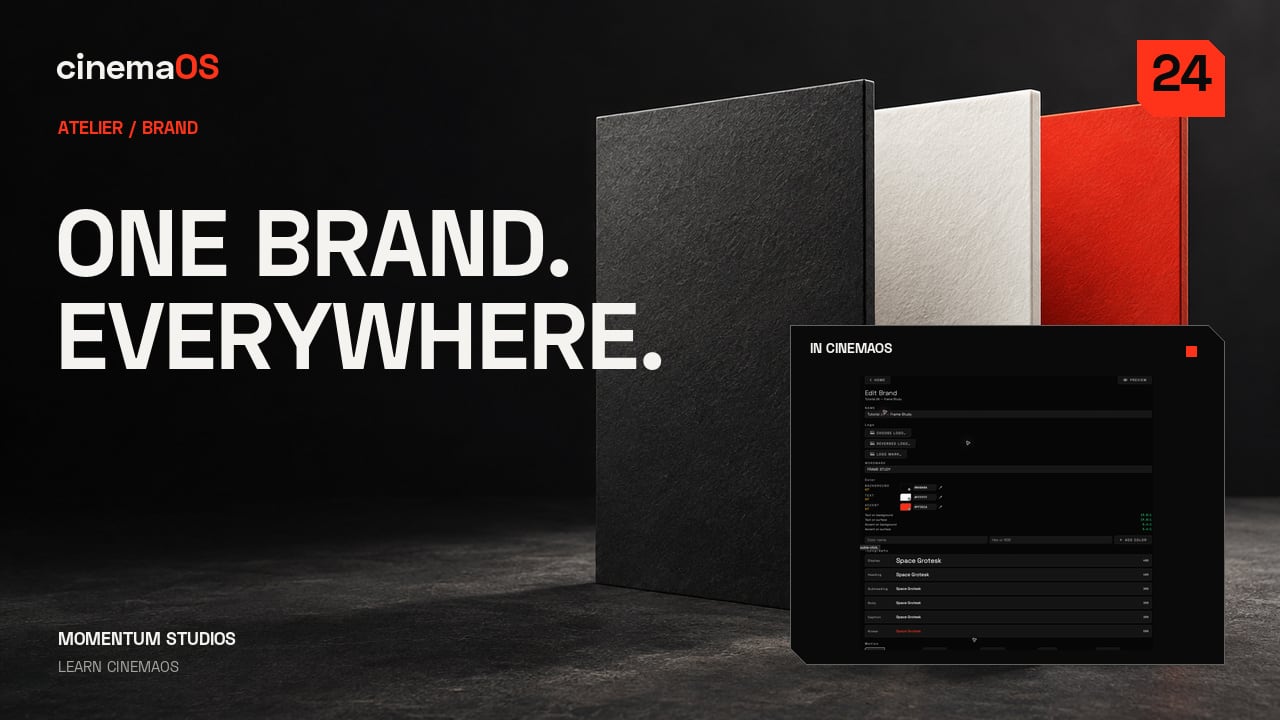
Brand kit to every poster size
Steps
- Set up the brand kit. Open Atelier and choose Brand to set the project colours and typography, then apply the kit to keep the design consistent.
- Lay out the poster. In Layout, the still and its editable title form a poster, with room for the image to breathe.
- Check every aspect with Adapt. Use Adapt to inspect the vertical, square and four by five versions. Check the crop, the title spacing and any unwanted line breaks.
- Export All Aspects. Press Command Option E. Export All Aspects writes six versions into your chosen folder, ready for a final visual check.
- Keep the project editable. Inspect the exported images and keep the original editable project for the next change.
-
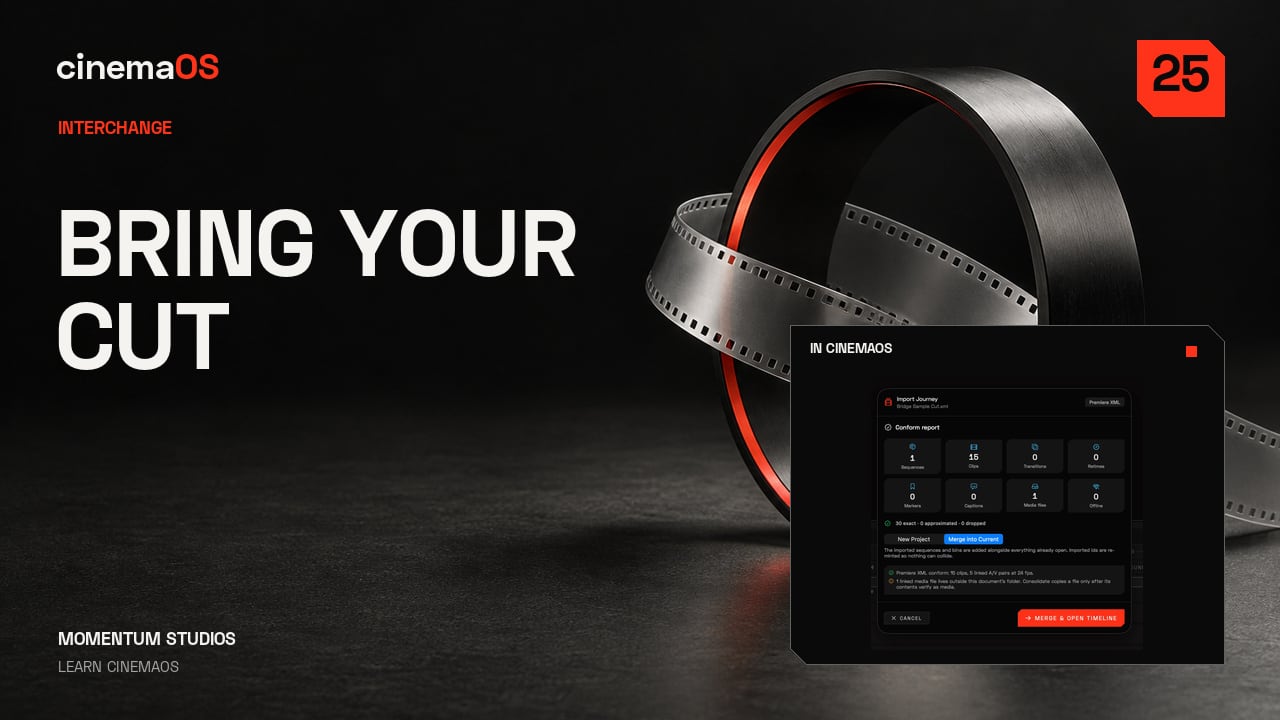
Bring a cut, hand it back
Steps
- Import the cut. Open HOME, choose Import a cut and select your XML or EDL. The authored sample used here contains five edits.
- Read the conform report. Check whether the media is online and the edits are preserved. Keep any warnings with the project.
- Check the sequence. Play the imported sequence against your reference. Check cut points, source frames and linked audio before handing it on.
- Export FCPXML or EDL. Export, then read the saved report: audio roles, timecode and track layout can need attention.
- Watch Task Center. Task Center (Option Command 0) shows the background media jobs. Keep the export report, then check the cut in the receiving application. That is a reviewed handoff.
-
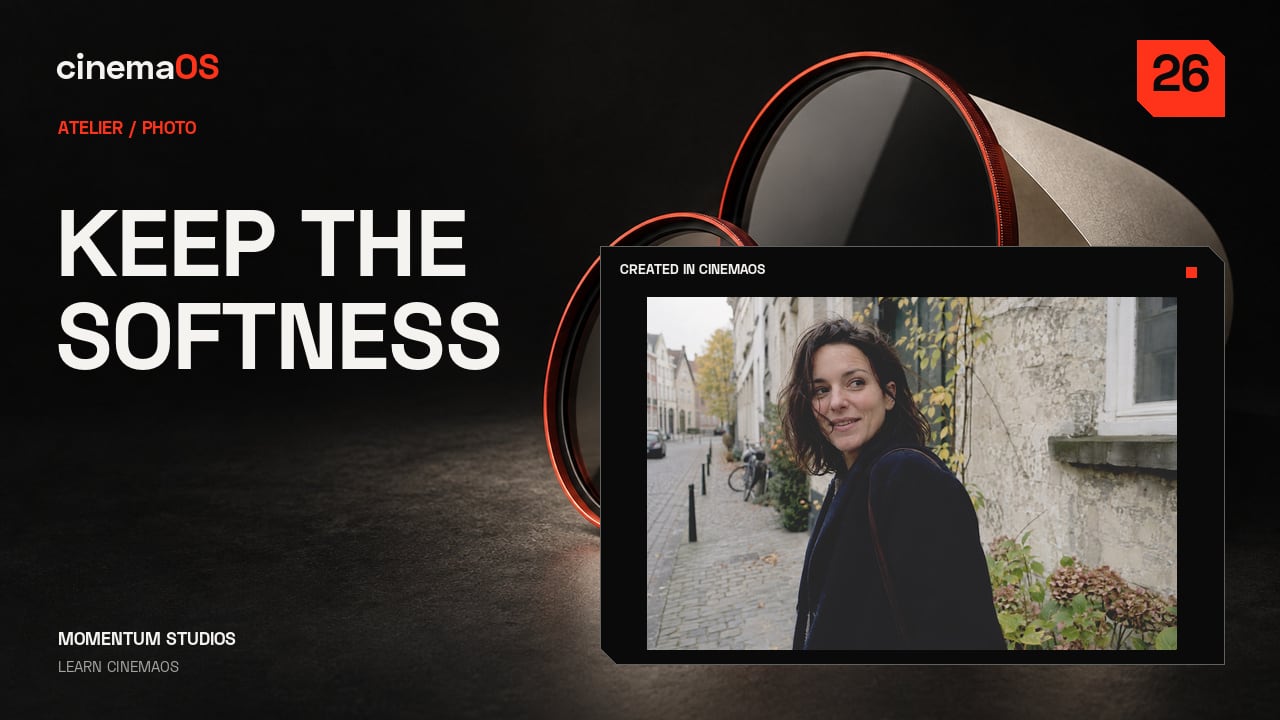
Shape a photo without losing its softness
Steps
- Add Levels. In Atelier, choose Photo, then find Levels in Effects. It arrives as a layer above the photograph, so the original stays intact underneath.
- Set the black point and gamma. Bring in the black point gently, then adjust gamma. Keep the face clear without crushing every shadow.
- Blend with Strength. Levels stays in Layers, above the photo. Reduce Strength to blend the treatment with the original instead of applying it at full force.
- Compare. Use Original, Split and After to compare. Watch the skin tones and the brightest part of the background.
- Export a copy. Export Photo saves a separate copy. Choose Web JPEG for a compact image that is ready to share. The editable project keeps the layers.
-
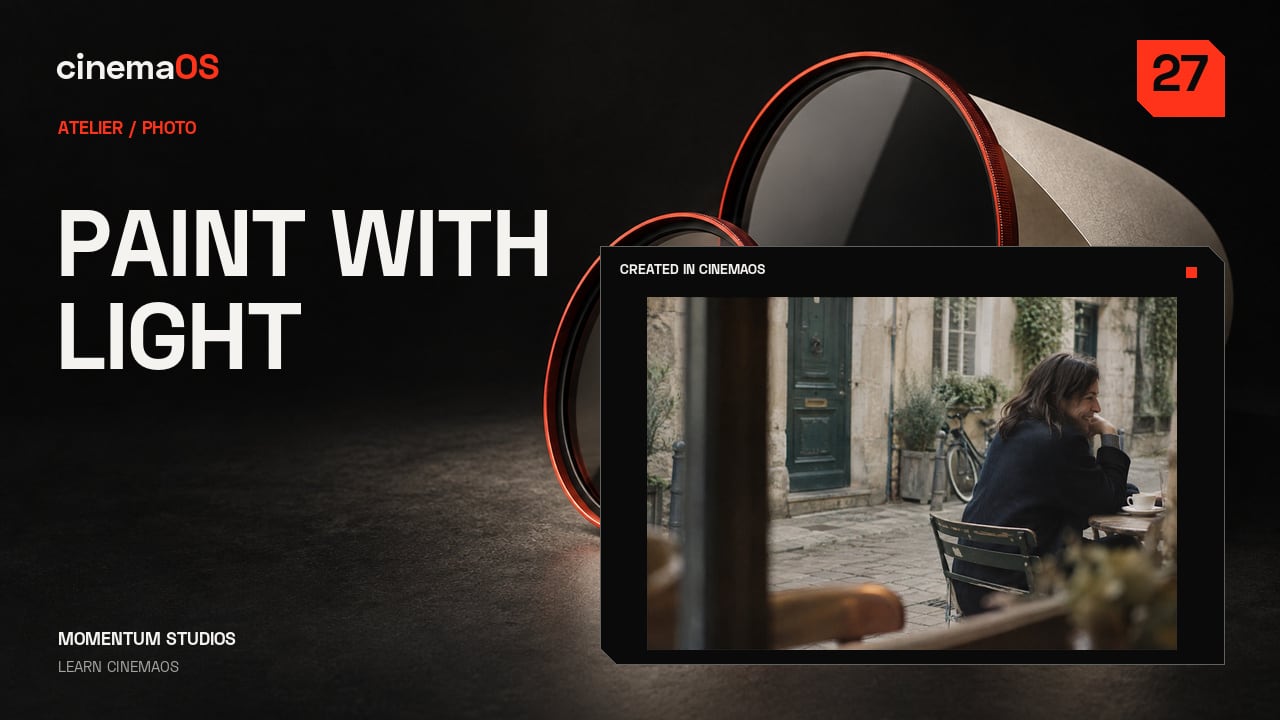
Paint soft light on a separate layer
Steps
- Select the paint layer. In Photo, select a separate paint layer above the image. In the recording it is named Soft window light.
- Set up a soft brush. Open More brush options and choose Soft Round. A large white brush with zero Hardness and low Opacity and Flow keeps the edges gentle.
- Paint and check the stroke. Paint into the background, away from the face. Use Undo and Redo to compare the photograph with and without the stroke.
- Blend the layer. Choose Soft Light as the blend mode and lower the layer Opacity to 30 percent. Toggle the layer's visibility to judge the balance.
- Compare and export. Compare the finished photo, then use Export Photo. The brushwork stays on its own editable layer in the project.
-
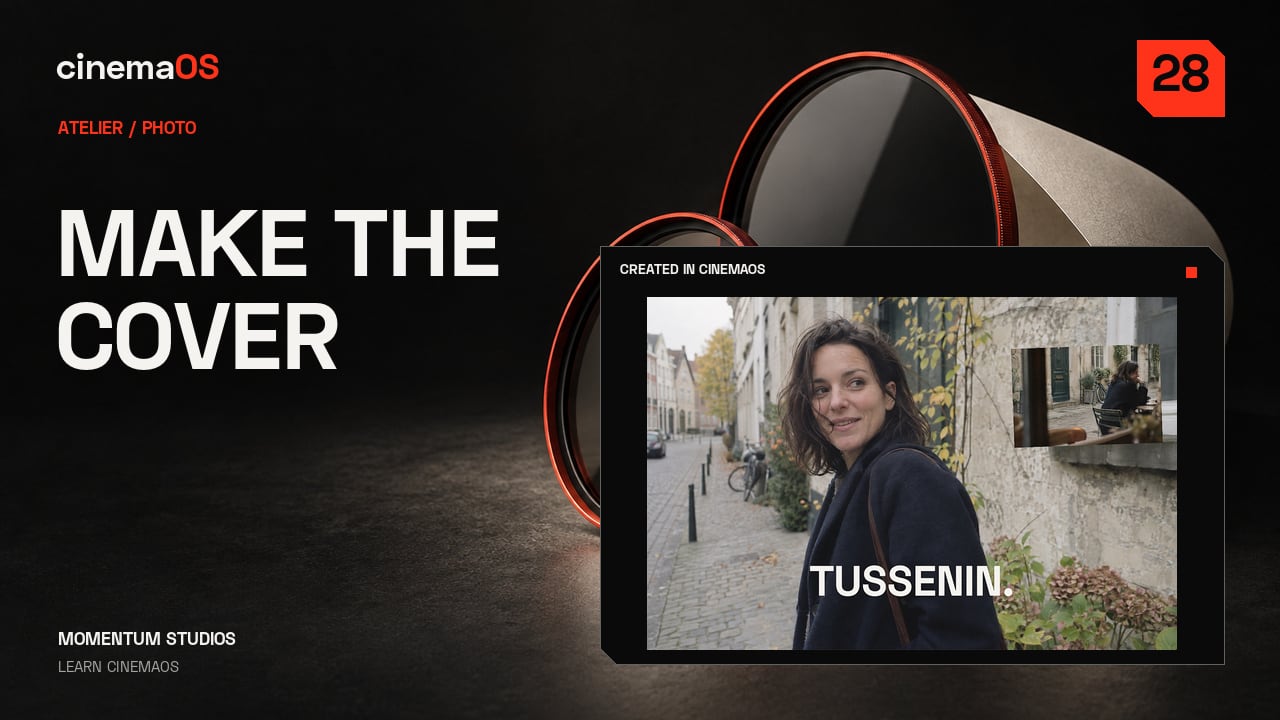
Build an editable photo cover
Steps
- Add a Text layer. In Photo, add a Text layer from Layers and type your title. Choose Space Grotesk with a bold weight.
- Place the headline. Adjust Text size, then use Transform to place the headline below the face.
- Add an Image layer. Add an Image layer for another photograph. In Transform, set Width and Height to 28 so it becomes a small inset.
- Position the inset. Move the inset into a corner and add a slight Rotation. Keep the text above it in Layers.
- Compare and export. Compare Original, Split and After, then Export Photo. The title and the inset stay separately editable in the project.
-
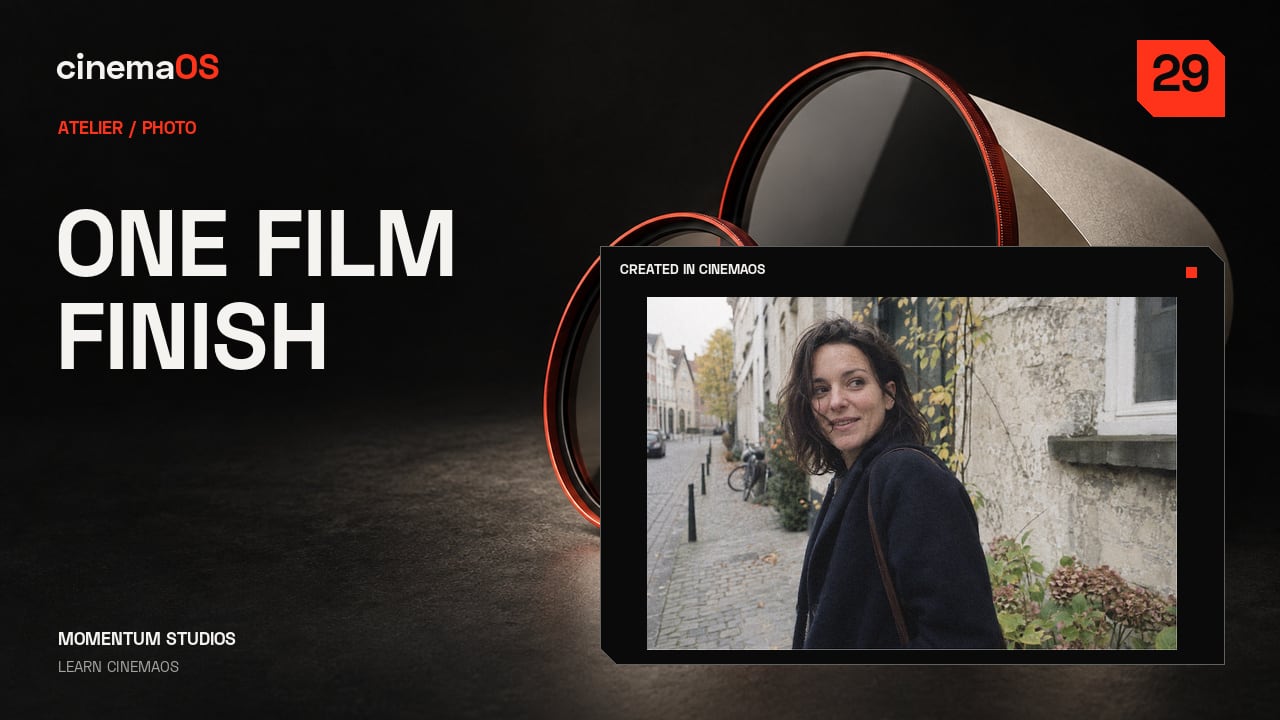
Build a film finish and sync the set
Steps
- Choose a film look. In Photo, open Film and choose 35mm Release Print. Keep the treatment restrained enough to preserve the light.
- Add texture. Add Physical Grain for texture, then use Diffusion gently to soften the highlights.
- Refine and compare. Lower the Strength of the grain until it supports the photograph. Use Split and After to judge the treatment.
- Select the set. Keep the treated photo open and select both stills in the bin. Check that the selected count reads two.
- Sync the groups you want. Open SYNC SETTINGS. Turn on Look and Effects & layers, leave the other groups off, then press Sync now.
- Export and review. Choose Web JPEG and Export 2 Selected. In Batch Review, inspect the pair and choose Keep All. Each photo keeps its own editable recipe.
-
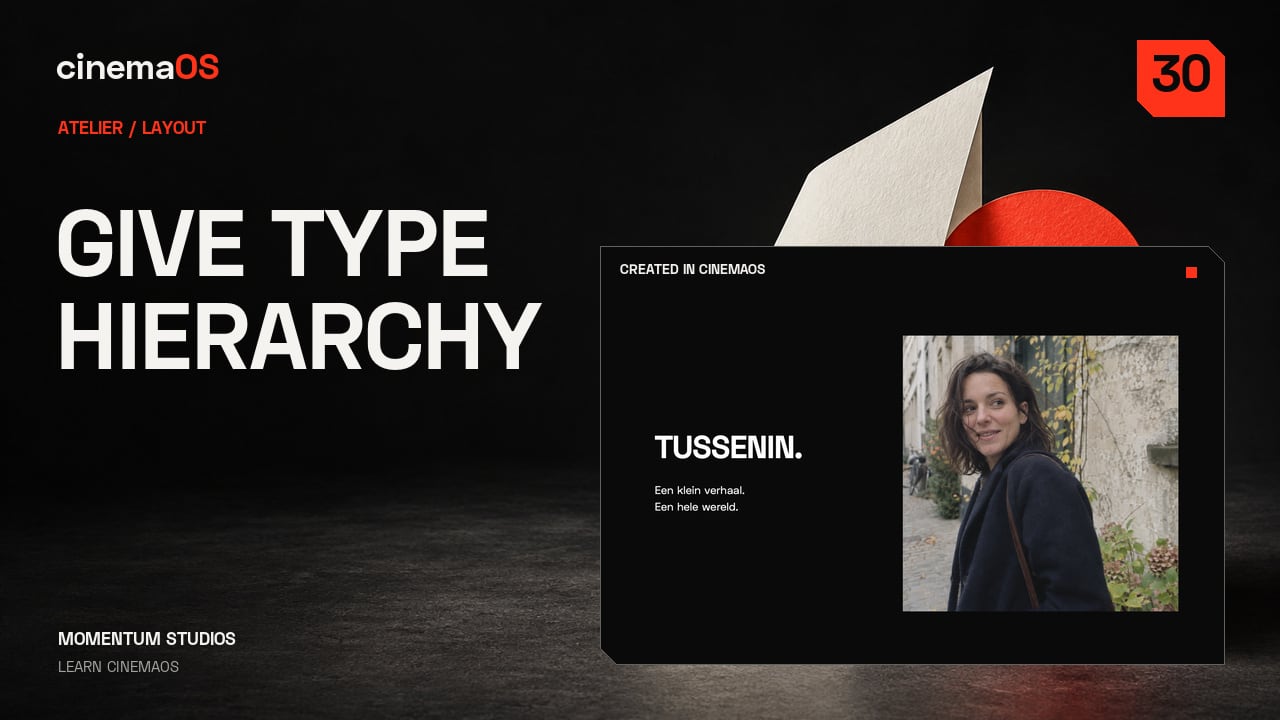
Give a poster a clear visual hierarchy
Steps
- Set the page. In Layout, choose a 16:9 Page Size and give the photograph one side of the composition.
- Enter the title. Choose Text, click the canvas and enter your title. Switch to Select and click away to commit it.
- Set the headline type. Set Space Grotesk to Bold at 104 px. Tighten Tracking slightly, without crowding the letters.
- Add a supporting line. Add a smaller line at 36 px and set Line Height to 1.3 for the two-line message.
- Align and clear the grid. Keep both text frames aligned, then turn Grid off. The image and the headline now have room to breathe.
- Export. Choose Deliver, then This Aspect, to export the PNG. Save the editable project for the next change.
-
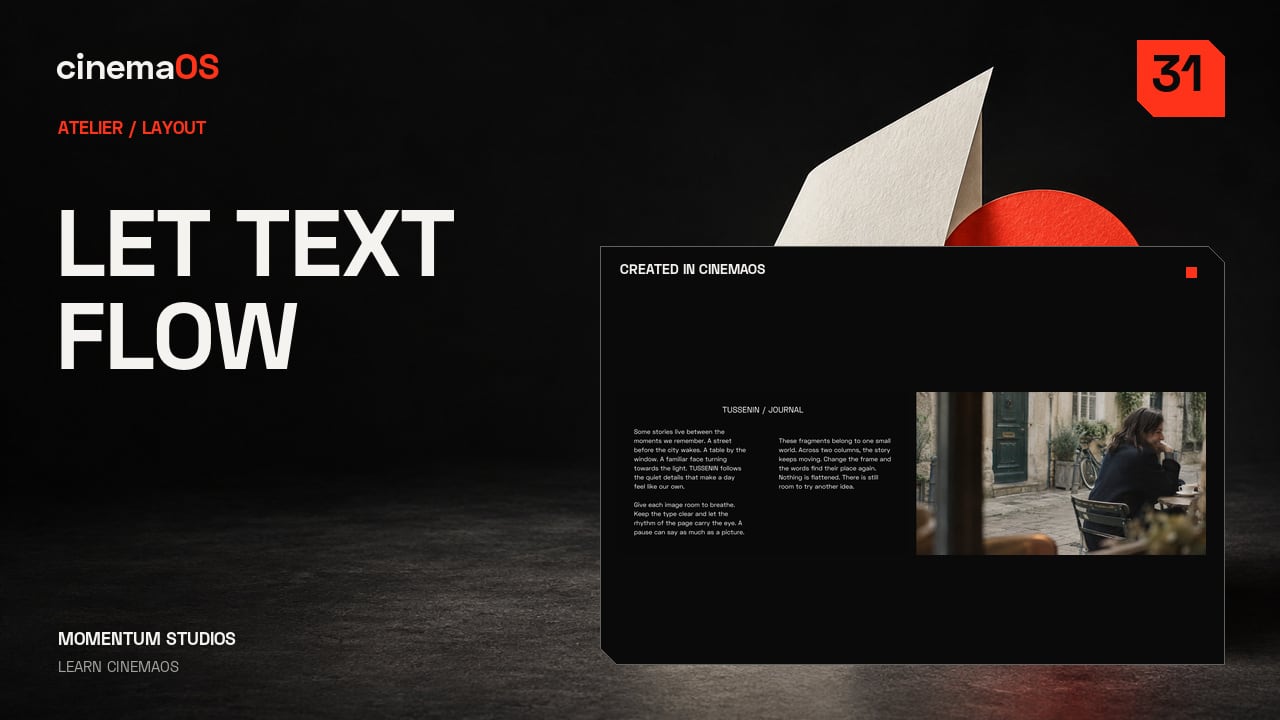
Let a story flow through linked frames
Steps
- Set the story frame. In Layout, put your story in a text frame. Set Auto-Size and Shrink Type to Off so the letters keep their intended size.
- Link a second frame. Choose Add Linked Frame, then move the continuation into the second column. Both frames share one story.
- Reflow and fix OVERSET. Resize the first frame and watch the words reflow. Check the OVERSET warning, then give the story enough room to fit.
- Add an image page. Use Add Page for a separate second page. Place a photograph there, leaving the linked story on page one.
- Export the document. Choose PDF Snapshot with Document page selected. Inspect both exported pages for complete text, clean spacing and a full-bleed image.
-
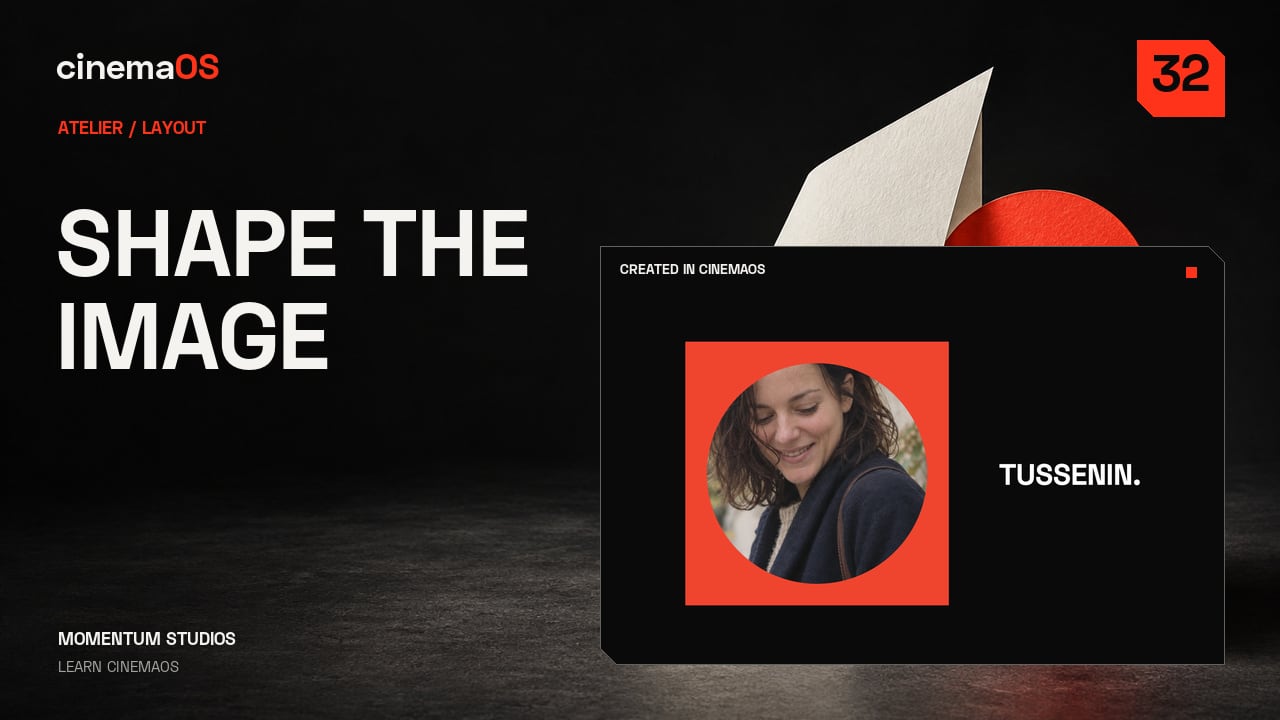
Build a graphic image treatment with masks
Steps
- Add an ellipse mask. In Layout, select the image and open Masks. Add a vector mask and choose Ellipse to create a clean circular crop.
- Test the edge. Try Feather to soften the edge, then return it to zero for a crisp graphic shape.
- Place the face. Use Crop Zoom and Pan Y to bring the face into the circle. The image frame stays where it is; only the picture inside it moves.
- Add a backing shape. Add a Rectangle behind the portrait. Open Arrange and choose Send to Back, then balance the shape with an editable title.
- Export. Choose Deliver and This Aspect to export the PNG. Keep the project for later changes to the image, the mask and the type.
-
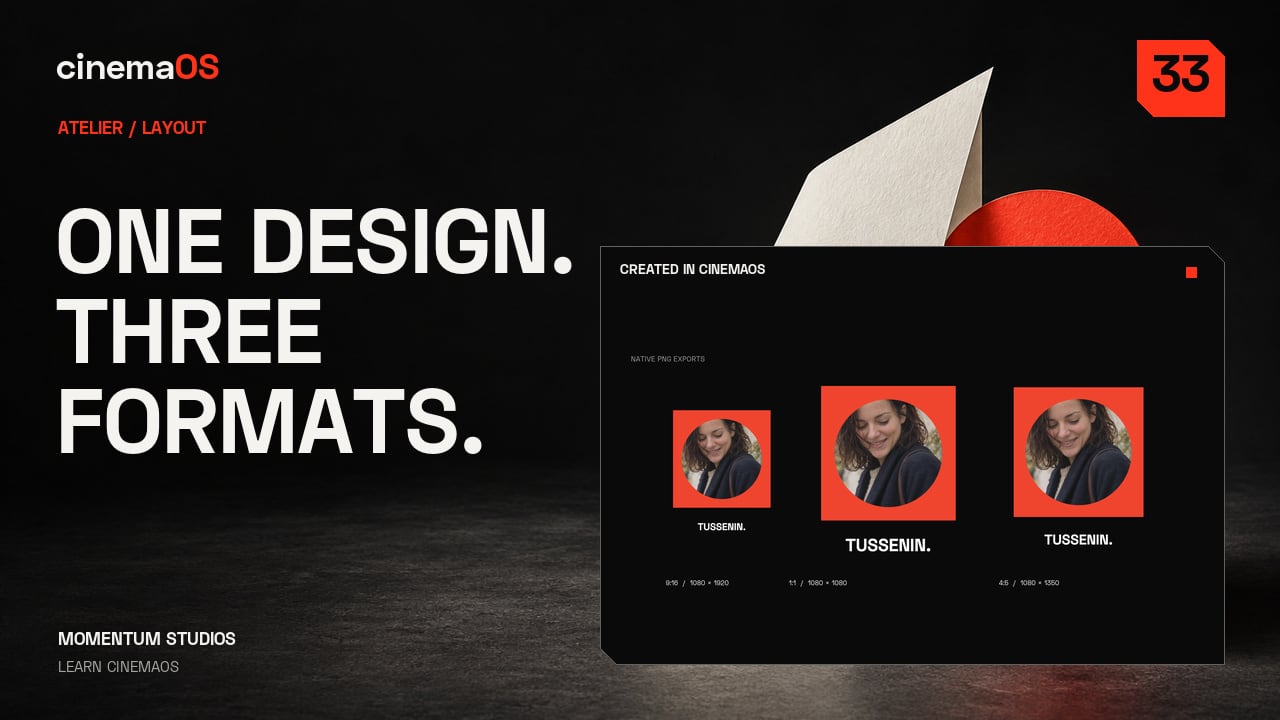
Adapt one design to three useful formats
Steps
- Duplicate the page. In Layout, use Duplicate Page so each delivery size keeps a separate composition. Select the page you want to change.
- Set the format. Open Page Size and choose 9:16, 1:1 or 4:5. Do this once per page, so you end up with a vertical, a square and a four-by-five page.
- Rearrange each page. Resize the image frame and its backing shape with Width and Height. Keep the circular portrait round, then move the title so it has room around it.
- Export each page. Choose Deliver and This Aspect for each finished page. Each export is the composition you designed for that size.
- Export one PDF. Use PDF Snapshot with Document page selected to get one file with all three pages, each at its own size. Check the images and every PDF page, then save the project.
-
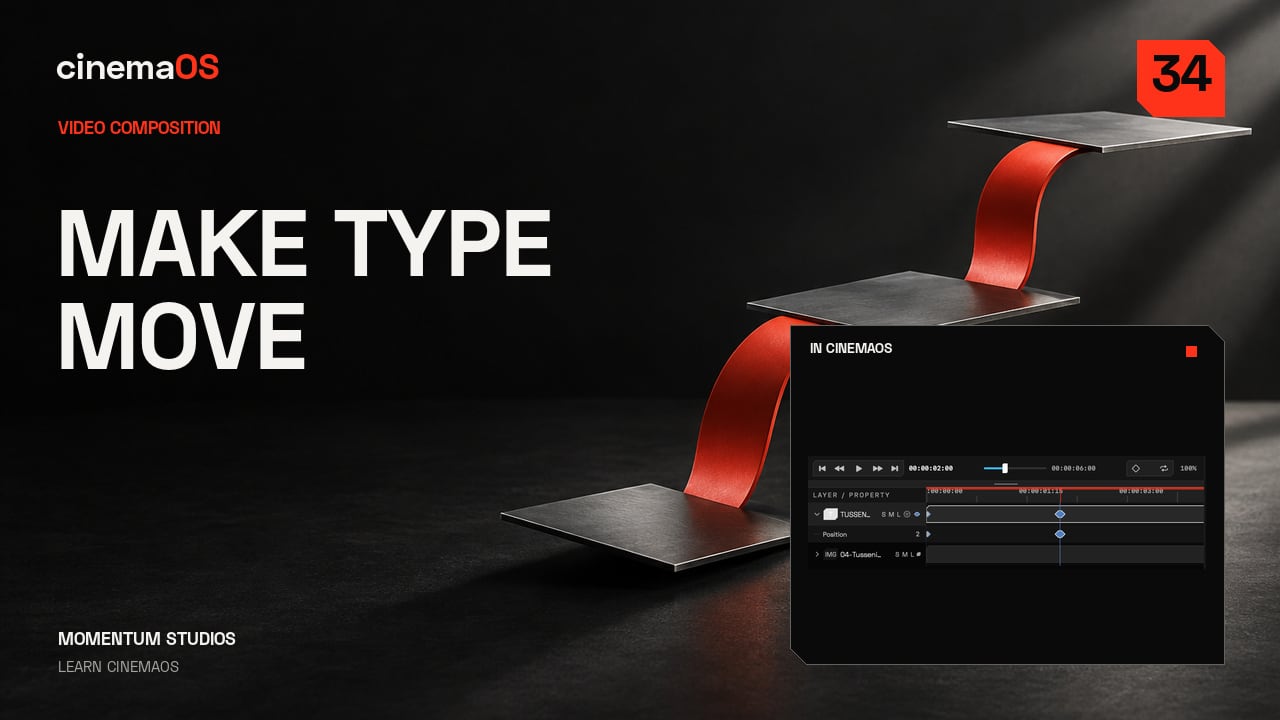
Animate a title with two keyframes
Steps
- Select the title. In Video Composition, select the editable title next to your photograph and find Position in the inspector.
- Add the first key. At zero seconds, set Position below where the title should end up. Click the diamond next to Position to add the first keyframe.
- Add the second key. Move the playhead to two seconds and change Position. Because the track already has a key, the change adds the second key for you.
- Play it. Check that both keys are on the track, then play the title as it moves into place.
- Hold and save. Leave a calm hold at the end so the title is easy to read, and save the editable project.
-
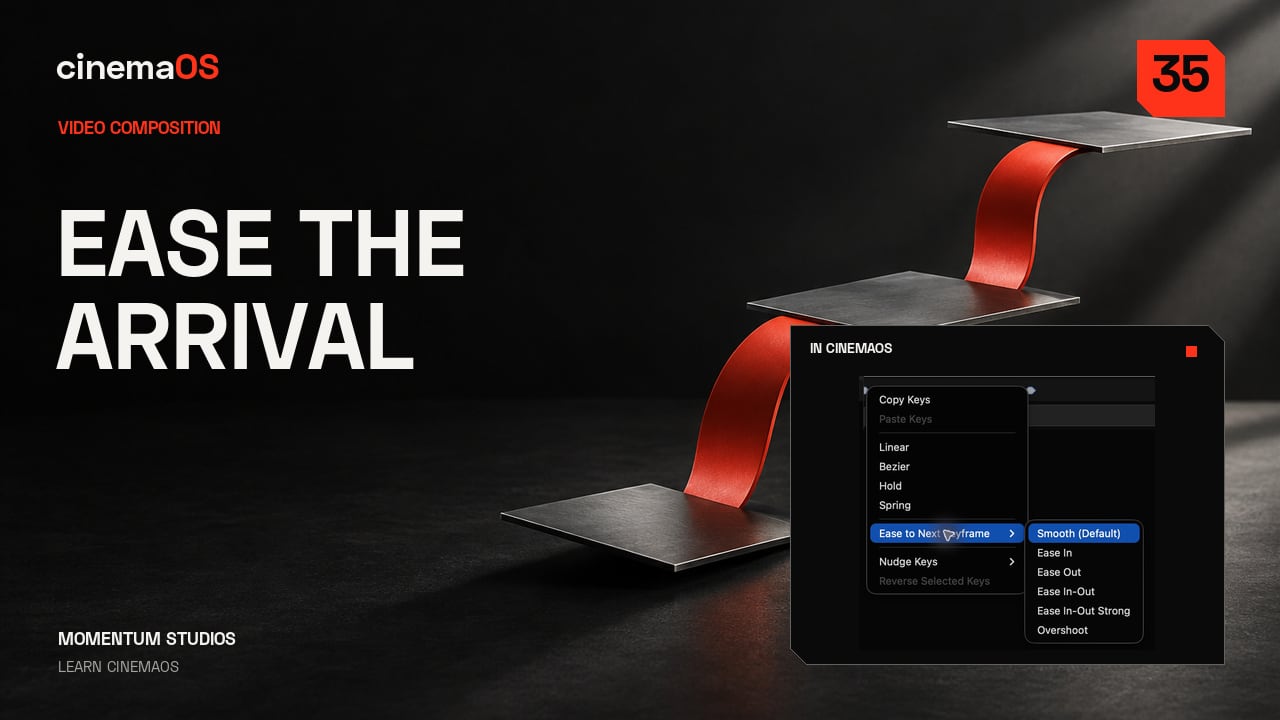
Make a title settle with controlled easing
Steps
- Play the Linear version. In Video Composition, start with two Position keyframes on the title and play the movement as it is.
- Open the first key's menu. Open the menu on the first keyframe and choose Ease to Next Keyframe, then Ease Out.
- Play it again. The title now slows down into its final position. The keyframe times and the end position do not change.
- Read the curve. The curve shows how the speed changes between the two positions. The preset sets the shape for you, so there are no handles to drag.
- Check at normal speed. Play the movement at normal speed and leave a calm hold at the end so the title is easy to read.
-
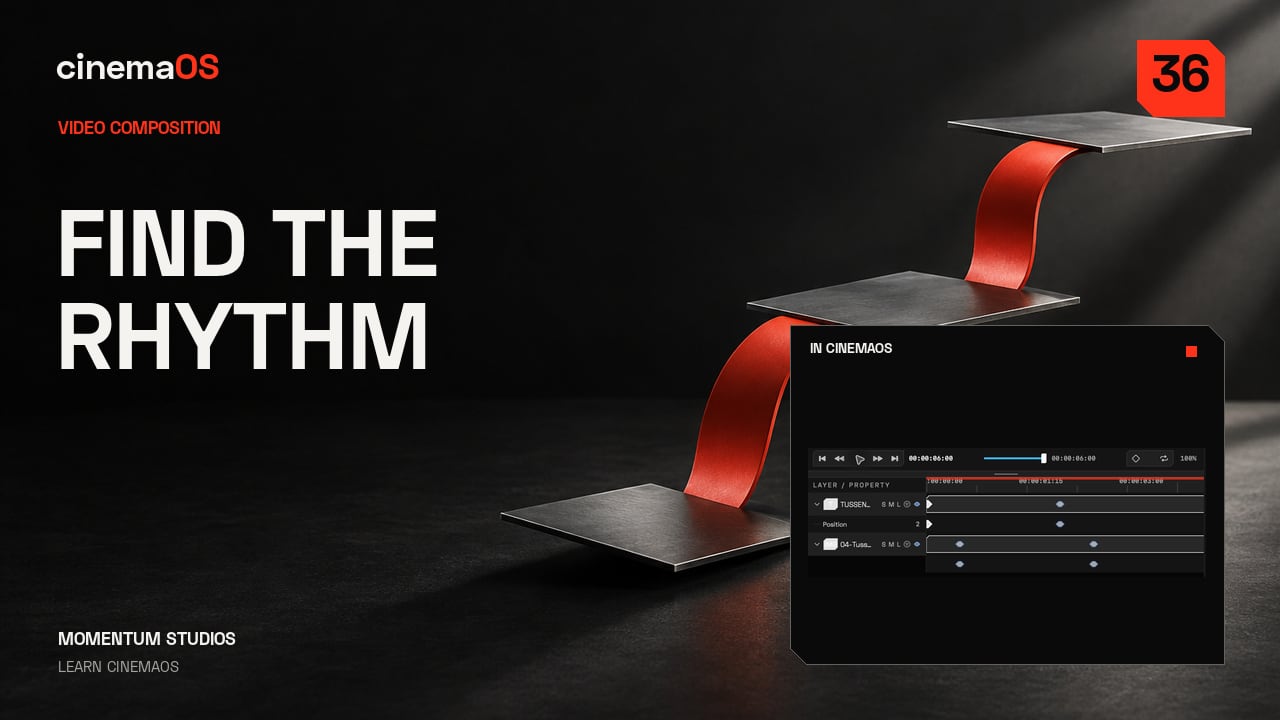
Build a sequence from a layered design
Steps
- Animate both layers. In Video Composition, give the title and the photograph their own Position keyframes.
- Stagger them. Select both animated layers. Right-click and choose Motion Timing, Stagger Layers and by 0.5 seconds.
- Check the keys. The first layer in the timeline keeps its keys. The next layer's keys move half a second later.
- Play it. Replay the composition and watch the two movements separate. Leave enough time after the last key for a readable hold.
- Keep it editable. Stagger Layers moves animation keys only, and the layer bars keep their length. Save the project so you can change the timing later.
-
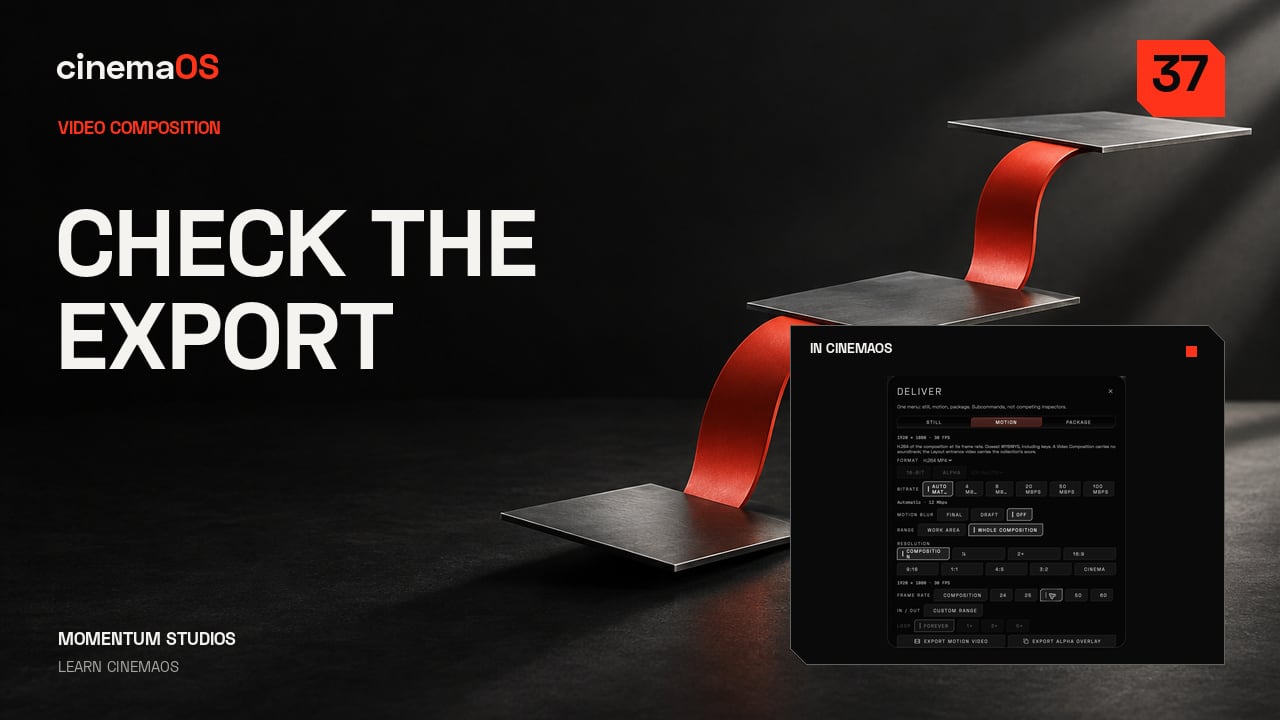
Export motion and check the actual file
Steps
- Open the motion export. In Video Composition, choose Deliver, then open Motion. Set Range to Whole Composition.
- Choose the format. Choose H.264 MP4, then check Resolution and Frame rate. This composition is 1920 by 1080 at 30 frames per second.
- Export. Leave Motion Blur off for this review and choose Export Motion Video.
- Watch the file. Play the exported movie through the whole movement. Check the first frame, the edges of the type and the final hold.
- Add sound in the edit. Composition exports are silent. Finish the soundtrack in your edit and keep the project for later changes.
-
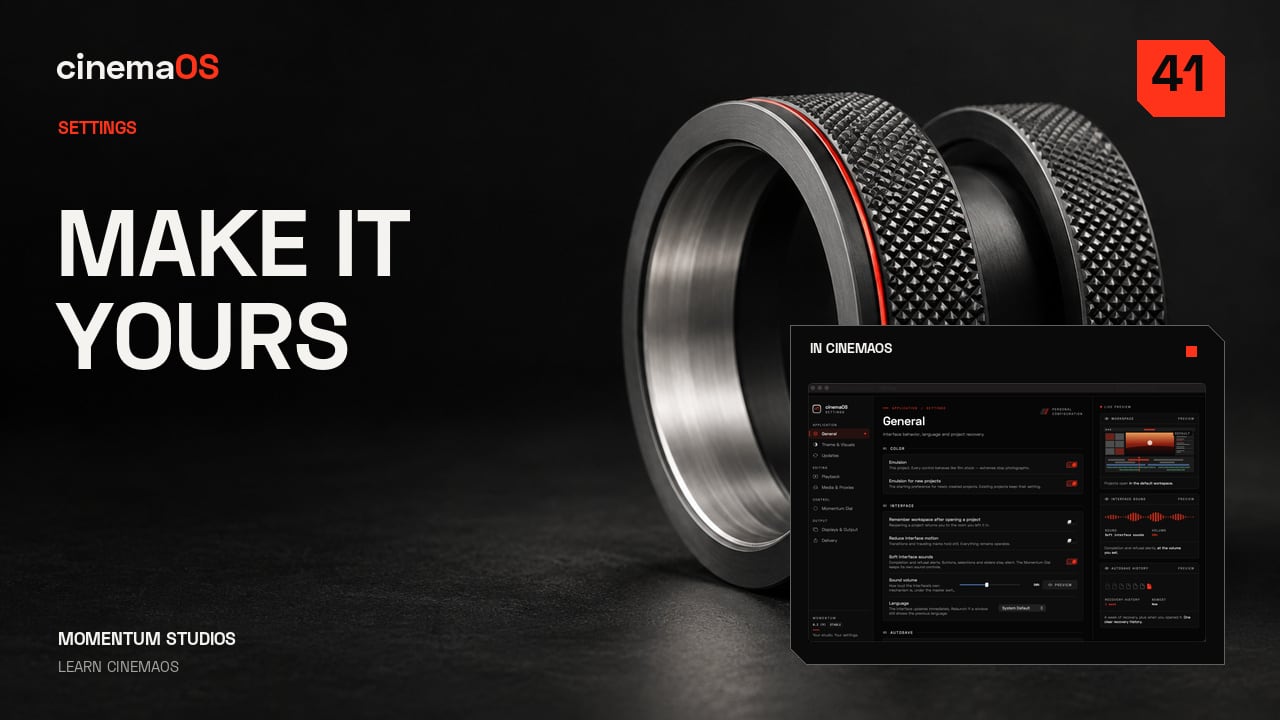
Make cinemaOS work your way
Steps
- General. Open Settings. General controls interface motion, sound, language and project recovery. Choose what makes your workspace comfortable.
- Theme & Visuals. This panel changes the canvas and the accent colour. The recording keeps Pure Black for a clear, consistent workspace.
- Playback. Playback sets the default preview quality and the audio hardware. Lower preview quality can lighten editing; exports still render from the originals.
- Media & Proxies. This panel sets import behaviour, proxy Generation and Proxy playback. Choose lighter media when the source is demanding.
- Momentum Dial. Edit Slices assigns the actions available on each Dial surface, for example the Timeline clip surface.
- Displays & Output and Delivery. Displays & Output assigns clean monitoring feeds. Delivery sets the Default codec, the Export destination and the filename pattern.
- Updates. Updates checks the version. Change one preference, then review your project.
Journal
-
What a finished minute of AI video really costs
AI video generation cost per minute is more than the listed rate. Count failed takes, retries, upscales and finishing to budget a usable minute. -
DaVinci Resolve crashing on Mac: causes and fixes
DaVinci Resolve crashing on your Mac? Check GPU settings, caches, the project database, plug-ins, fonts and media, then what to send Blackmagic support. -
Exported video looks washed out on Mac? The gamma shift, fixed
Exported video washed out on a Mac? Why QuickTime and browsers show lifted blacks, how colour tags and gamma cause it, and how to check with scopes first. -
Is AI video editing actually faster than doing it yourself
Is AI video editing faster? Where AI saves real time, where prompting, checking and fixing eat the gain, and a simple way to time your own workflow. -
Media offline? How to relink missing files in your edit
Why clips go media offline after moving a drive or renaming a folder, how to relink in any editor without breaking timecode, and habits that keep paths stable. -
Premiere Pro audio out of sync? Causes and fixes
Premiere Pro audio out of sync? Find out whether it is drift or a fixed offset, then fix variable frame rate footage, sample rates, cache and slipped clips. -
Premiere Pro auto-save settings that protect long projects
The Premiere Pro auto-save interval, version count and save location that protect a long edit, plus manual save habits for days when the app hangs. -
Premiere Pro transcription not working? Fixes and fallbacks
Premiere Pro transcription not working after an update? Check language packs, audio routing, cache and version, then keep a transcription route you control. -
Subscription vs one-time licence: which video editor model wins
Video editor subscription vs one-time purchase, priced over three and five years with upgrades, plug-ins and exit costs included, so you can compare fairly. -
Will AI replace video editors? What changes and what stays human
Will AI replace video editors? A grounded look at which editing tasks automation is absorbing, which skills grow in value, and how to direct the tools. -
Adobe Firefly generative credits: how they work for video
Adobe's monthly generative credits reset and do not roll over, and video features like Generative Extend cost far more than images. How to plan so credits last. -
Cancel Adobe Creative Cloud: early termination fee explained
The fee hits annual plans cancelled mid-term, not true monthly plans. How to check your plan, time the cancellation and export projects before access ends. -
DaVinci Resolve "GPU memory full" on Mac: how to fix it
DaVinci Resolve GPU memory full on a Mac? Why it happens, what to change first (timeline resolution, noise reduction, nodes, media) and how to prevent it. -
Edit AI-generated video without re-rolling the whole clip
Edit AI-generated video like real footage: fix timing, colour, framing and sound on a timeline instead of paying to generate the whole clip again. -
Is Premiere Pro worth it? Cost vs value for working editors
Is Premiere Pro worth it? A sober look at what the subscription buys a working editor, who genuinely needs it, and who is paying out of habit. -
Open a Premiere Pro project without Premiere: 3 routes
The reliable way to open a .prproj without Premiere is to ask for an XML export and the media. Three routes compared, plus how to conform against a reference. -
Premiere Pro export failed? Fixes for Error compiling movie
Failed Premiere Pro exports usually trace to the destination, the GPU or hardware encoder, or one bad frame. Fixes by when it fails, plus a deadline routine. -
Premiere Pro using too much RAM on Mac? Leak test and fixes
High RAM in Premiere Pro is often a heavy project, not a leak. A 15-minute Activity Monitor test tells them apart, plus the settings and media habits that help. -
Premiere Pro lagging on Mac? 5 playback fixes, in order
Lower Premiere Pro's playback resolution and make proxies first; that fixes most lag on Mac. Then check codecs, the media cache and the effects that cost most. -
Premiere Pro project won't open? 5 steps to rescue it
Copy the .prproj first, then open the newest file in the Auto-Save folder and import it into a clean project. Five steps, plus XML export as a lifeline. -
Review an AI-edited video: a frame-level QC checklist
A checklist to review AI-edited video before it ships: continuity, sync, breaths, jump cuts, captions and the moments only a human editor notices. -
Roll back Premiere Pro to a previous version, step by step
In the Creative Cloud app, choose Other versions next to Premiere Pro and install an earlier build. Then protect upgraded projects and stop auto-updates. -
The true five-year cost of your video editing software
Video editing software cost is more than the sticker price. A five-year worksheet for licences, AI credits, plug-ins, cloud storage, fonts and stock. -
When an AI editor says "done" but the cut is wrong
Why AI editing agents report success on cuts that are wrong, how to review an agent edit, and what to demand from an assistant on your timeline. -
AI video credits: the real cost of paying per generation
Credit-based AI video tools make costs hard to predict. Where credits really go, how to budget a project, and when on-device AI in your plan is better. -
DaVinci Resolve too complicated? How to make it simpler
Resolve feels hard because its page model splits one job across Edit, Fusion, Color and Fairlight. How to shorten the learning curve, and who might not need it. -
Editable project vs locked MP4: why the project is the asset
A generated MP4 is a dead end once notes arrive. What a flattened render loses, how to rescue generated clips, and why the editable project is the asset. -
Lost work after a frozen save? Project recovery for editors
Your editor froze mid-save or a project won't open. How to recover the cut, the auto-save and backup settings to fix today, and habits that prevent a repeat. -
Post-production handoffs: the cost of too many tools
Round-tripping edit, color, sound, subtitles and design across apps costs time and invites conform errors. How to hand off safely, or keep one project. -
Premiere Pro keeps crashing on Mac: 5 fixes in order
Most Premiere Pro crashes on Mac come from a bad media cache, the GPU renderer or a plug-in. Five reversible fixes in order, plus how to roll back a bad update. -
Software update broke my project: protect a cut mid-edit
An NLE update broke your project mid-edit. How to roll back safely, freeze versions, and keep interchange exports as insurance before the next update. -
Premiere Pro alternatives for Windows: an editor's shortlist
Looking for a Premiere Pro alternative on Windows? A shortlist judged on stability, interchange with Adobe clients, finishing tools and total cost. -
Best AI video editor for professionals: what to look for
How to judge the best AI video editor for paid work: editable results, real undo, where your media goes, and what each new attempt costs you. -
Best video editor for documentaries on Mac
The best video editor for documentaries on a Mac, compared on transcripts, search across hours of interviews, multicam, subtitles and archival repair. -
Best video editor for a MacBook Air with 8 GB RAM
Which video editors stay usable on a MacBook Air with 8 GB of memory, what to expect from 4K and local AI, and the settings that keep editing responsive. -
CapCut vs Premiere Pro: which editor for creators and freelancers
CapCut vs Premiere Pro, judged on real creator and freelance jobs: templates and speed against depth and client-standard files, plus the hidden costs. -
DaVinci Resolve free vs Studio: what you actually miss
DaVinci Resolve free vs Studio for Mac editors: what the free version leaves out, when the one-time Studio licence pays for itself, and other ways to fill the gaps. -
Text-based editing compared: Premiere, Resolve, Descript
A text based video editing comparison of Premiere Pro, DaVinci Resolve, Descript and cinemaOS: accuracy, speakers, privacy and how the cut lands. -
Best audio mixing software for indie film on Mac
The best audio mixing software for film, compared fairly: Pro Tools, Fairlight, Logic Pro, Nuendo and the cinemaOS SOUND console for indie mixes. -
Best color grading software for Mac: 5 options compared
DaVinci Resolve is the default for serious grading on Mac, and the free version suffices for most. Compared with Final Cut Pro, Lumetri, Baselight and cinemaOS. -
Best photo editing software for Mac, by what you need
The best photo editing software for Mac by need: raw development, retouching and cover layout, with Lightroom, Capture One, Photoshop, Affinity and more. -
Best subtitle software for Mac in 2026
The best subtitle software on Mac for filmmakers, compared on transcription, timing, EBU-STL, SCC and IMSC1 support, QC and translation. -
Best video editing software for film students
The best video editing software for film students: what to learn on, what education pricing really costs, and how to keep projects portable after graduation. -
Best video editor for YouTube creators on Mac
The best video editor for YouTube on Mac, compared for weekly creators: editing speed, captions, thumbnails, vertical cutdowns, loudness and monthly cost. -
Canva alternatives for film posters and festival artwork
Looking for a Canva alternative for film posters? Photoshop, Affinity and cinemaOS Atelier compared on print output, type control, brand kits and your own frames. -
CapCut alternatives for Mac when you need a real desktop editor
Looking for a CapCut alternative on Mac? A fair look at iMovie, Final Cut Pro, DaVinci Resolve, Premiere Pro, Filmora and cinemaOS, and the trade-offs. -
DaVinci Resolve alternatives for Mac editors
Looking for a DaVinci Resolve alternative on Mac? What finishing really needs, which apps fit which jobs, and when Resolve is still the right call. -
Descript alternatives for Mac with local transcription
Need a Descript alternative on Mac that keeps interviews off the cloud? How local transcription editors compare on accuracy, privacy and finishing. -
Final Cut Pro alternatives: what to switch to and why
Looking for a Final Cut Pro alternative on Mac? The realistic options for track-based editing, deeper finishing, subtitles and interchange, with trade-offs. -
Final Cut Pro vs DaVinci Resolve: compared on 3 real jobs
Final Cut Pro is faster for cutting lots of footage on Apple silicon; Resolve wins on colour and sound. Compared on a documentary, a short and a branded job. -
Final Cut Pro vs Premiere Pro: which one fits your work
Final Cut Pro vs Premiere Pro, compared fairly: magnetic timeline or tracks, one-time purchase or subscription, Apple or Adobe, and what switching costs. -
Graphic design software for filmmakers: posters, titles, socials
Graphic design software for filmmakers compared: Photoshop, Illustrator, Affinity, Canva and cinemaOS Atelier for posters, title cards, socials and brand kits. -
Lightroom alternative on Mac: an honest guide
Looking for a Lightroom alternative on Mac? A fair look at Capture One, DxO PhotoLab, darktable, Apple Photos and Affinity, plus how to migrate safely. -
The most stable video editing software for Mac
Searching for the most stable video editing software on Mac? Judge crash recovery, autosave, update discipline and project safety before a long edit. -
Premiere Pro alternatives for Mac: an editor's shortlist
Looking for a Premiere Pro alternative on Mac? A shortlist judged on stability, interchange with Adobe clients, finishing tools and total cost. -
Premiere Pro vs DaVinci Resolve: which should you edit in?
Premiere Pro vs DaVinci Resolve, compared fairly: editing, colour, audio, stability reports, pricing models and what clients expect, with clear verdicts. -
Adobe subscription fatigue: honest alternatives for Mac editors
Tired of paying for Creative Cloud? A fair look at DaVinci Resolve, Final Cut Pro, CapCut and cinemaOS, what each costs over time, and how to leave cleanly. -
Best video editing software for Mac (Apple silicon) in 2026
An honest buyer's guide to Final Cut Pro, DaVinci Resolve, Premiere Pro, CapCut and cinemaOS on Apple silicon, organised by what you actually make. -
cinemaOS vs DaVinci Resolve: a fair comparison by job
cinemaOS vs DaVinci Resolve compared job by job: editing, color, sound, subtitles, dubbing, design, AI, platform and price, with who should choose which. -
cinemaOS vs Final Cut Pro: an honest comparison for Mac editors
Final Cut Pro is fast and mature. cinemaOS puts grade, captions, dubbing, sound and design in one project. Where each wins, and how FCPXML links them. -
cinemaOS vs Premiere Pro: which editor fits your work?
cinemaOS vs Premiere Pro, compared honestly: ecosystem, After Effects, AI and credits, finishing, localization, design, interchange, platform and price. -
cinemaOS for Windows: get it from the Microsoft Store
cinemaOS is now on Windows. How to get it from the Microsoft Store, what the 14-day free trial includes, what it costs and how it relates to the Mac version. -
Switching from Premiere Pro on Windows: a first-week plan
A practical first-week plan for leaving Premiere Pro on a Windows PC: export a cut, import it, check the conform report and test one real delivery. -
Design and print in Atelier: vectors, artboards and PDF/X-4
Atelier in cinemaOS draws real vectors with pen tools, Pathfinder and artboards, exports print-ready PDF/X-4, and builds 3D motion design with cameras and lights. -
J.A.R.E.D. director: describe the film, cinemaOS builds the cut
How the J.A.R.E.D. director in cinemaOS turns one sentence into a planned, approved and built cut on your Mac: brief, moments, plan, one approval, redirects. -
Open Photoshop, Lottie and After Effects files in cinemaOS
What comes across when you open a layered PSD, a Lottie animation or an After Effects project in cinemaOS on Mac, what does not, and how to send work back. -
Paper edit in cinemaOS: a rough cut built from the transcript
Pick transcript lines in the order you want to hear them and cinemaOS assembles a rough cut with handles on a new sequence. Then refine it word by word. -
How to apply a LUT to log footage the right way
Apply a LUT to log footage in the right order: a technical input LUT first, then your grade, then any creative look, without clipping the highlights. -
How to move a Final Cut Pro project to Premiere Pro
Final Cut Pro to Premiere Pro without surprises: export FCPXML, convert it to a Premiere XML, conform against a reference render and rebuild what breaks. -
How to color grade iPhone Apple Log footage
Apple Log color grading for iPhone footage: convert to Rec.709 with the right input transform, then set exposure, balance and skin without a plastic look. -
How to edit MKV files on a Mac
Edit MKV files on a Mac by rewrapping or converting them to MOV first: why editors refuse MKV, which tool to use, and what to check after import. -
Search your footage by word, meaning or similar frame
Search video footage by content: find a line by its words, an idea by its meaning, or a look-alike shot from a sample frame, then turn the hits into selects. -
Upscale video to 4K locally on your Mac
How to upscale video to 4K on a Mac without uploading it: when AI upscaling helps, when it invents detail, and how to test passes before you commit. -
How to burn subtitles into a video on Mac
Burn subtitles into video on a Mac with HandBrake, Final Cut Pro, Resolve, Premiere or cinemaOS: when to hardcode, readable styling and a QC pass. -
How to mix spatial audio on headphones
Mix spatial audio on headphones: place and move sound objects, check stereo and mono fold-downs, and know what binaural monitoring cannot tell you. -
Simple motion graphics with keyframes and a camera layer
Learn motion graphics keyframes step by step: two keys, easing, a stagger, a slow camera move, then place the design in your edit and keep it editable. -
How to remove filler words from an interview video
Remove filler words from video interviews: find ums, uhs and false starts in a transcript, review them as one candidate edit, keep meaningful pauses. -
Select the sky in a photo and refine the edge
How to select sky in a photo, clean the edge around trees, hair and buildings, then darken, recolour or balance it against the foreground without halos. -
Animated titles without After Effects: do it in the edit
How to make animated titles without After Effects: lower thirds, title cards and end cards built in your editor, kept editable, and when a motion app still wins. -
How to transcribe video to text on a Mac, offline
Transcribe video to text on a Mac without uploading it: local tools compared, how to fix names and speakers, and exporting text or subtitles for the edit. -
How to blur faces in video on Mac: tracked, step by step
Track a face, choose blur, a bar or pixelation, then review every frame before export. When to anonymize people, and how to do it on a Mac in cinemaOS, offline. -
Brand kit for a film release: one identity, every aspect ratio
Build a film's brand kit once and carry it from poster to trailer titles to 9:16 socials. A practical workflow for consistent key art in every aspect ratio. -
How to dub a film into another language on a Mac
Dub a film locally in cinemaOS: transcribe, review speakers, attest voice rights, choose Quick Voice-over or Production Dub, and check loudness. No lip sync. -
Make a film poster and key art from your own frames
Pull stills from your cut, choose a frame that sells the film, retouch it, set poster type and a billing block, then adapt it for festivals and social. -
Loudness standards for delivery: LUFS, true peak, BS.1770
What LUFS and true peak mean, typical broadcast and streaming targets, how to measure integrated loudness, and how to fix a mix before delivery. -
Radial menu editing: how the Momentum Dial speeds up your cut
Why radial menus beat right-click lists, and how to use the Momentum Dial in cinemaOS: surfaces, timeline and bin actions, history scrub and custom slices. -
Premiere, Resolve, Final Cut: move a cut with XML, EDL, AAF
Move a cut with Premiere XML, FCPXML or AAF: edits survive, effects and grades usually don't. What each format carries, how to prepare, and a conform checklist. -
Reframe horizontal video to vertical 9:16 without losing the shot
How to reframe 16:9 footage to 9:16 for social: subject placement, headroom, caption safe zones, tracking moves, and exporting every aspect from one edit. -
Shot matching: grade a clip to match a reference still
How to match a grade to a reference still: exposure, balance, contrast, saturation and skin, then Shot Match in cinemaOS with editable sliders and scopes. -
Spatial audio for indie film: 5.1, 7.1 and 7.1.4 explained
Beds vs objects, when an indie film actually needs 5.1, how to monitor surround on headphones, and how to deliver 5.1, 7.1 and 7.1.4 WAV and ADM BW64. -
Subtitle formats explained: SRT, WebVTT, EBU-STL, IMSC1 and more
SRT, WebVTT, ASS, SCC, EBU-STL, iTT, IMSC1 and EBU-TT-D: what each format is, who asks for it, reading-speed conventions and how to QC before delivery. -
Transcribe an interview and edit by text on a Mac, locally
Transcribe interviews on your Mac with speaker detection, cut by editing the transcript, tighten with J.A.R.E.D., then caption. Nothing is uploaded. -
How to translate subtitles locally on a Mac, without uploading
Step by step: transcribe, correct, translate and export subtitles entirely on your Mac in cinemaOS, with honest quality tiers and a QC pass before delivery. -
The cinemaOS 2 launch film, and what it shows
A short film made to show cinemaOS 2: the rooms of the studio, the J.A.R.E.D. director and the Momentum Dial, on Mac and Windows. -
One studio for video, photo and design on Windows
What replaces a stack of separate editing, grading, sound, photo and layout apps when everything lives in one project, now on Windows through the Microsoft Store. -
cinemaOS 2: everything new in version 0.3, build 10
The J.A.R.E.D. director, paper edits, seven in-house film looks, Photoshop and Lottie files, vector design and print, 3D motion, RAW photos and surround sound. -
Seven film looks made in-house: Golden to Tape in cinemaOS
The seven cinemaOS film looks, what each one is for, why cinemaOS replaced its borrowed film-stock LUTs with its own, and how to use a look without ruining a grade. -
Film festival submission strategy for indie filmmakers
A film festival submission strategy that fits your film: festival tiers, premiere status, regional festivals, fee budgets, deadlines and when to stop. -
How to cut a film trailer that sells your indie film
How to edit a movie trailer for an indie film: a three-act structure, a shot-selection method, music and pacing, and title cards that sell without spoiling. -
Festival deliverables checklist for indie films
A practical festival deliverables checklist: ProRes master, DCP, subtitle files, stems and M&E, stills, poster, trailer, press kit, cue sheet and loudness. -
The last five percent of an edit: where taste lives
Automation can assemble a cut, but rhythm, breath and reaction shots decide if it works. A practical guide to the last five percent, and AI for the rest. -
What is a release studio? Finishing a film in one project
A release studio covers everything between locked cut and audience: finishing, sound, subtitles, dubbing, key art and deliverables, in one live project. -
A video editor with no generative credits, on Windows
Why a flat monthly price and an on-device assistant matter when other tools meter every AI render, and how cinemaOS handles it on Windows and Mac. -
Is your footage used to train AI? Reading the fine print
Is your footage used to train AI? How to read an editing app's terms for training clauses, what content analysis means, and how to opt out. -
Offline video editor for Mac: edit with no internet
Which Mac video editors work fully offline, which AI features need a connection, and what to check about licences before you edit on a plane or in a secure room. -
Does AI video editing upload your footage? How to check
Does an AI video editor upload footage? How to test any editor's AI features, what to read in the terms, and which jobs can stay on your Mac. -
On-device AI video editing: why privacy matters for film
Why local AI matters for unreleased films, NDAs and documentary subjects, what cinemaOS runs on your Mac, and a checklist to judge any AI tool's privacy.